


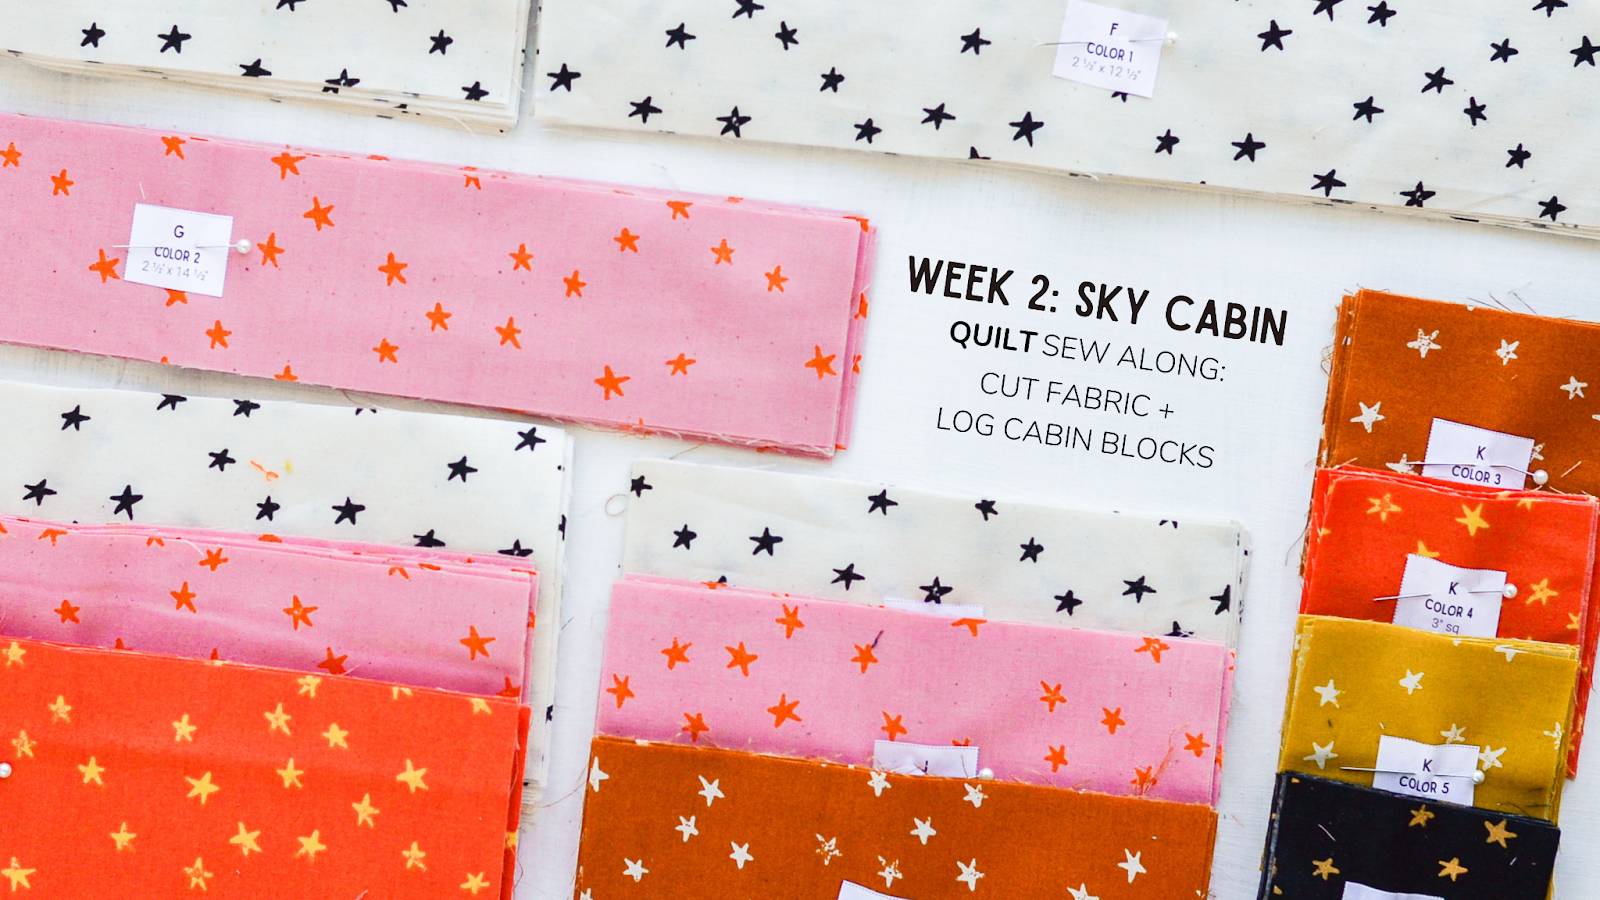
Intro to Week 2
Hello again! Nice to see you here for Week 2 of the Sky Cabin SAL!
I loved seeing the fabric pulls and mock-ups you all have put together! I even saw that some of you were able to snag yourself one of the amazing quilt kits available last week. Lucky you! Get yourself a snack (preferable one that doesn’t stain your fabric) and a drink (again, preferably one that doesn’t stain your fabric.. ha!) and let’s get to Week 2!
We will be diving into cutting our fabrics and sewing up the log cabin blocks this week! I know that sounds like a lot for one week, but trust me - the cutting is quick and simple and the log cabins come together swiftly with chain-piecing.
As a reminder, one lucky quilter will win the grand prize we’ve put together for you all at the end of the sew along. In order to enter your name in the drawing for the grand prize, you will need to post the weekly photo by Sunday night of that week! Make sure your profile is set to “public” and you use the #SkyCabinSAL hashtag so we can see your pretty pictures!
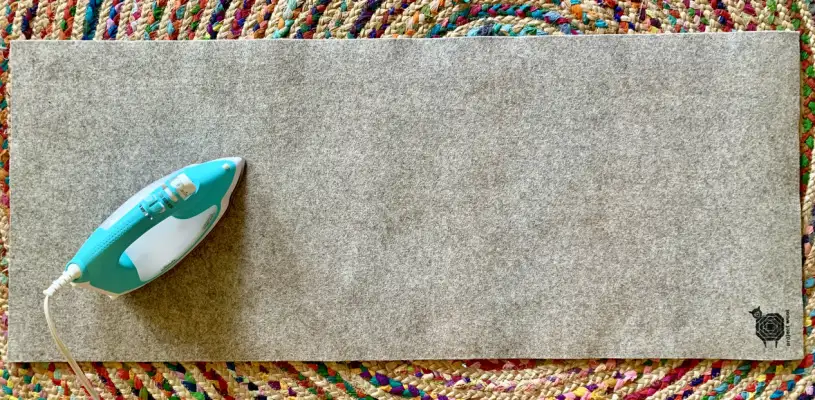
So far, Week 1 has revealed the first part of the grand prize to be T&S Merch + Patterns where you pick a t-shirt from the T&S shop, sticker sheet + 2 free T&S patterns! Next up, we have a 14” x 14” Wool Pressing Mat from Project Wool. Project Wool is a company run by a crafty quilter just like us! As they put it - “By crafters, for crafters.” This 14” x 14” mat is the perfect travel size mat for those quilty retreats, and it is small enough to live next to your sewing machine for quick pressing.

Project Wool is offering a discount on their 24” x 50” Wool Pressing Mat in celebration of the SAL! In order to take advantage of the discount, use the code TOADANDSEW20 at checkout to receive $20 off and free shipping on the preorder of this large mat. But hurry - the code will only work for the first 20 orders! The mat is set to begin shipping out in two weeks.
Sky Cabin Sew Along Schedule
-
Week 1, July 18: Pick fabric
Sponsor: T&S Merch + Patterns! Pick a t-shirt from my shop,
sticker sheet + 2 free T&S patterns! -
Week 2, July 25: Cut Fabric + make log cabin blocks
Sponsor: 14” x 14” Wool Pressing Mat from Project Wool -
Week 3, August 1: Make HSTs
Sponsor: will be announced Aug 1 -
Week 4, August 8: Make HRTs
Sponsor: will be announced Aug 8 -
Week 5, August 15: Construct blocks + finish top!
Sponsor: will be announced Aug 15
Reminder!
We have some awesome longarm quilters that are offering discounts for your finished Sky Cabin quilts at the end of the SAL!
- Trace Creek Quilting will be offering 25% off your longarm quilting for any Sky Cabin quilt that arrives by September 30th, 2022!
- Quilts Made With Love will also be offering 25% off your longarm quilting for any Sky Cabin quilt that arrives by September 30th, 2022!
To take advantage of the discount, make sure to mention the Sky Cabin SAL in your service request!
Some of my favorite pantographs to use for computerized longarm quilting are Mod Pod, Behold, and Bread Basket.


Cutting Tips / Organization
- My number one tip for cutting is starching your fabric. This will help with getting those wrinkles out and keeping them out. This is because it stabilizes your fabric and prevents stretching. Starch will make your fabrics a ~little~ stiffer, but this dramatically improves the accuracy of your cutting! Sky Cabin is a great pattern for starch usage because of the bias edges and point matching within the pattern! So, all-in-all, you can’t go wrong with using fabric starch. Watch this reel of how I like to starch my fabric using Flautless Spray Starch!
- Another fabric cutting tip is to use your ruler for measuring out your cuts instead of using the lines on your cutting mat. I know your cutting mat probably said that it was a “self healing” mat, but cutting in the same spot over and over again will just wear away at the mat over time which leads to very inaccurate cuts.
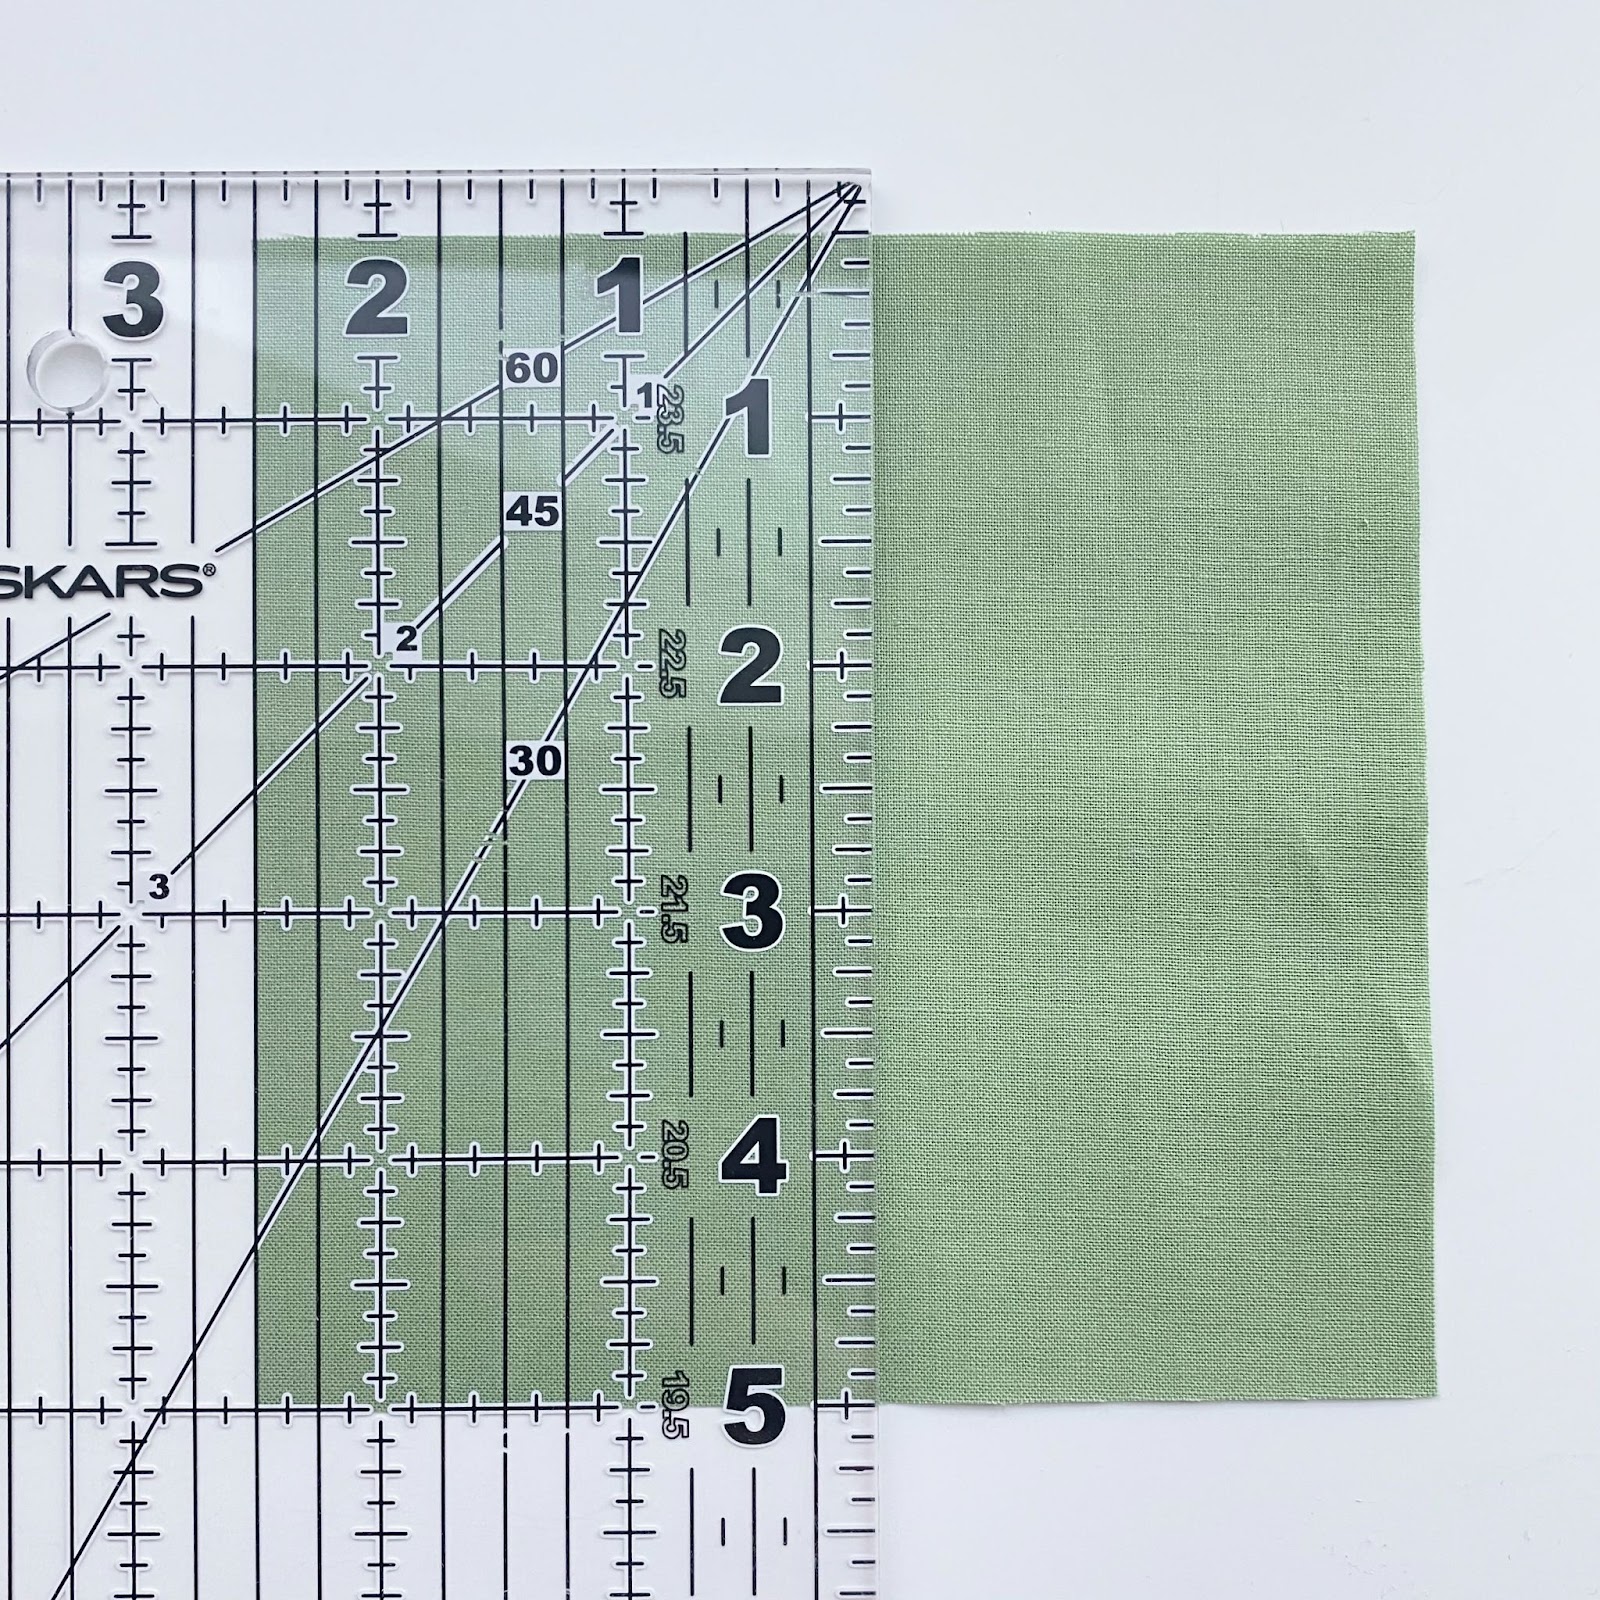
- Step 1: Line up the top and bottom fabrics are parallel with each other. You can do this by lining up the top and bottom edges with a horizontal line on your ruler. This is super important if you are cutting a folded piece of fabric! If the edges aren’t lined up, you’ll end up with wavy fabric cuts.
- Step 2: Line up the left or right edge of the fabric with the appropriate vertical line on your ruler. Using the picture below as an example - I lined up the left side of my fabric (because I am right-handed) with the 2 ½” line on my ruler while making sure my top and bottom edges are lined up with a horizontal line on the ruler. You’d reverse this if you are left-handed.
- Step 3: Cut along the right side of the ruler (don’t forget to tuck in your fingers!), I will end up with a 2 ½” rectangle. And I will have made this accurate cut without even using the measurement lines of my cutting mat!
- Label as you go! At the end of the pattern, you’ll notice there are labels included for your fabric pieces. These are very handy little labels that will keep you organized while you make your Sky Cabin quilt - especially since you will be sewing the quilt a little at a time over these next four weeks! It’s so much easier to pick back up where you left off when you know what you're looking at when you sit down at your sewing table! The best way to utilize these labels is to pin the label to your fabric pieces as you cut.

Sewing Log Cabin Blocks
While the concept of the log cabin block is fairly simple, there are a couple of tips I’d like to share with you all about them!
When sewing up the log cabin blocks, you’ll want to stick to a strict ¼” seam allowance. This is super important because of the nature of the block construction. The log cabin block is sewn starting from the center and working your way out. Each new piece of the block is added onto the previously sewn pieces. If your seams allowance is a little bit off each time, this adds up to being quite a bit off by the end of your block.
If you’ve never chain-pieced before, your whole world is about to change. Chain-piecing is a sewing method where you stitch your pieces one after another without breaking your thread. Think of this as an assembly line for your sewing! Chain-piecing is best used when you are sewing multiples of the same block. Not only does it keep you organized, but it saves you time and thread! No more stopping and starting in between each block!

Next week, we will be sewing up the Half Square Triangles (HST) blocks! Until then, happy sewing!


