jan. Toad Circle Bonus Project
Quilted Bulletin Board
- Designed and Written by Aubrey Westphal of @popandpeaches
Happy 2024!
If you were like me, then leading up to the holidays is always crunch time to get projects and gifts finished. That is why I like to start something easy and quick in the new year to get my creativity flowing. To help you jump start your crafty new year, we put together this fun bonus project that will hopefully add some motivation and organization!
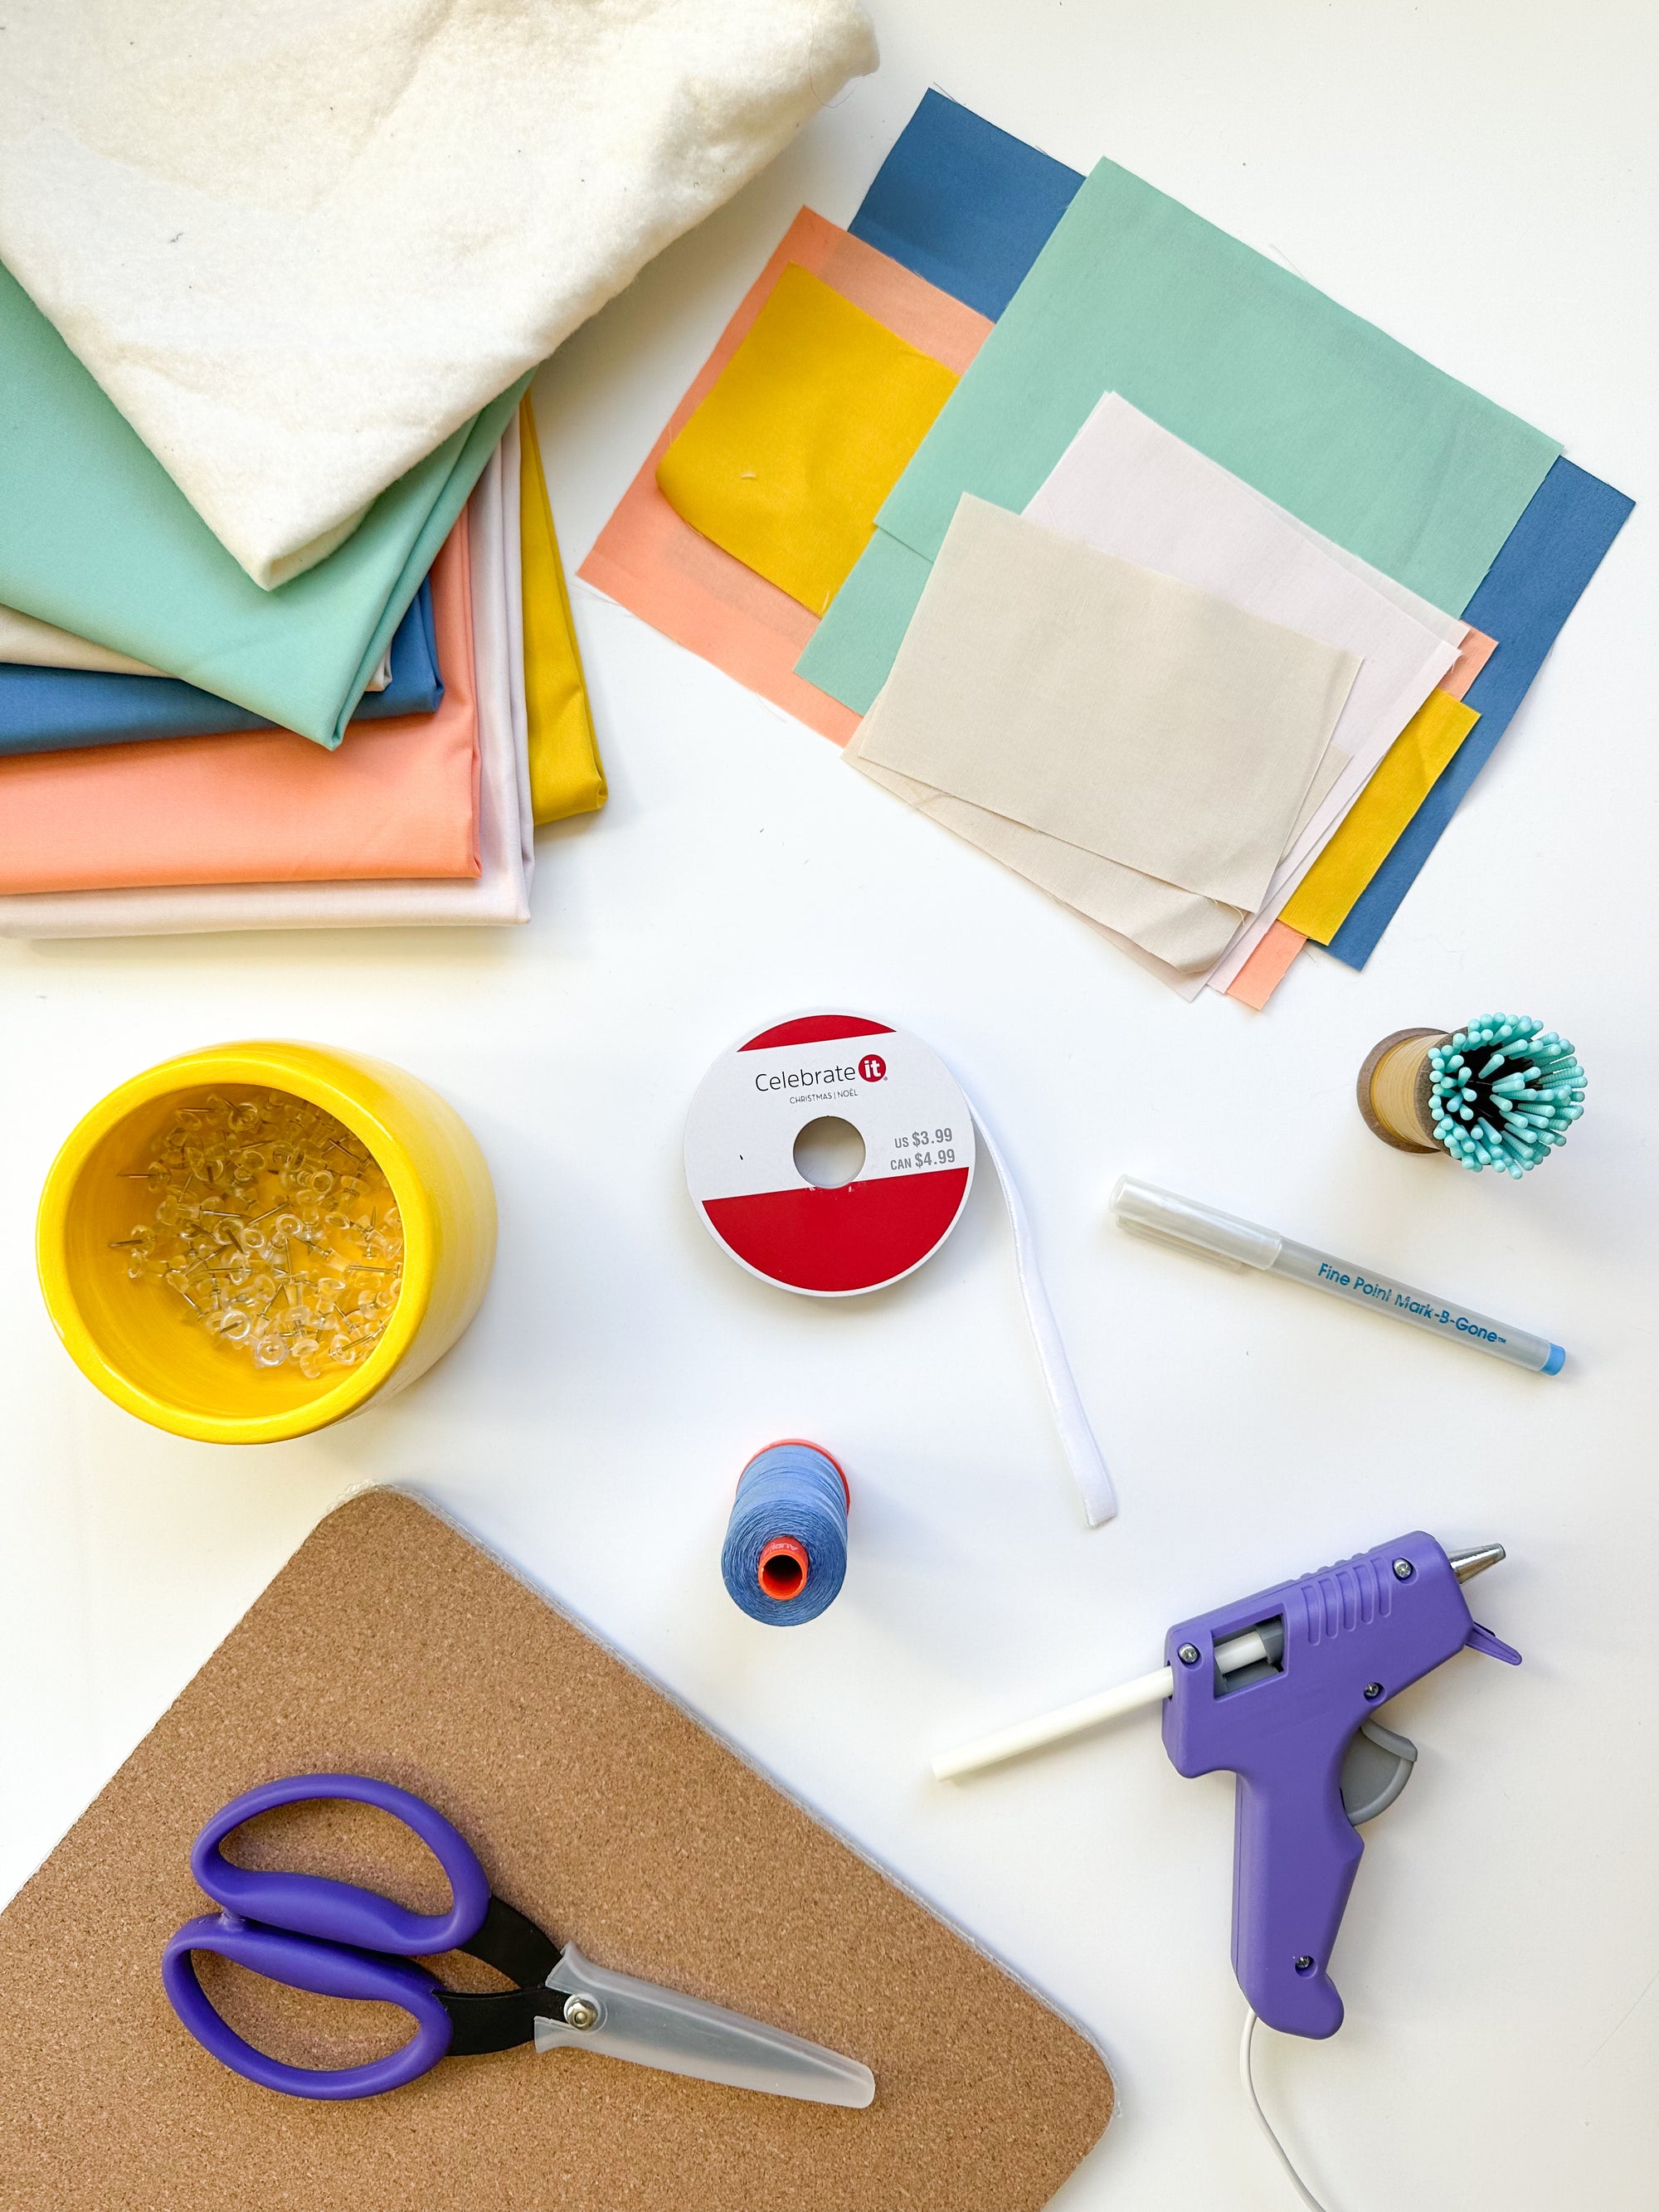
What You'll Need:
- Fabric
- Batting
- Thread
- Your regular sewing supplies (rotary cutter, ruler, etc)
- Frameless bulletin board
- Hot glue gun
- Fusible interfacing (optional see step 5)
- Ribbon or string
- Tacks
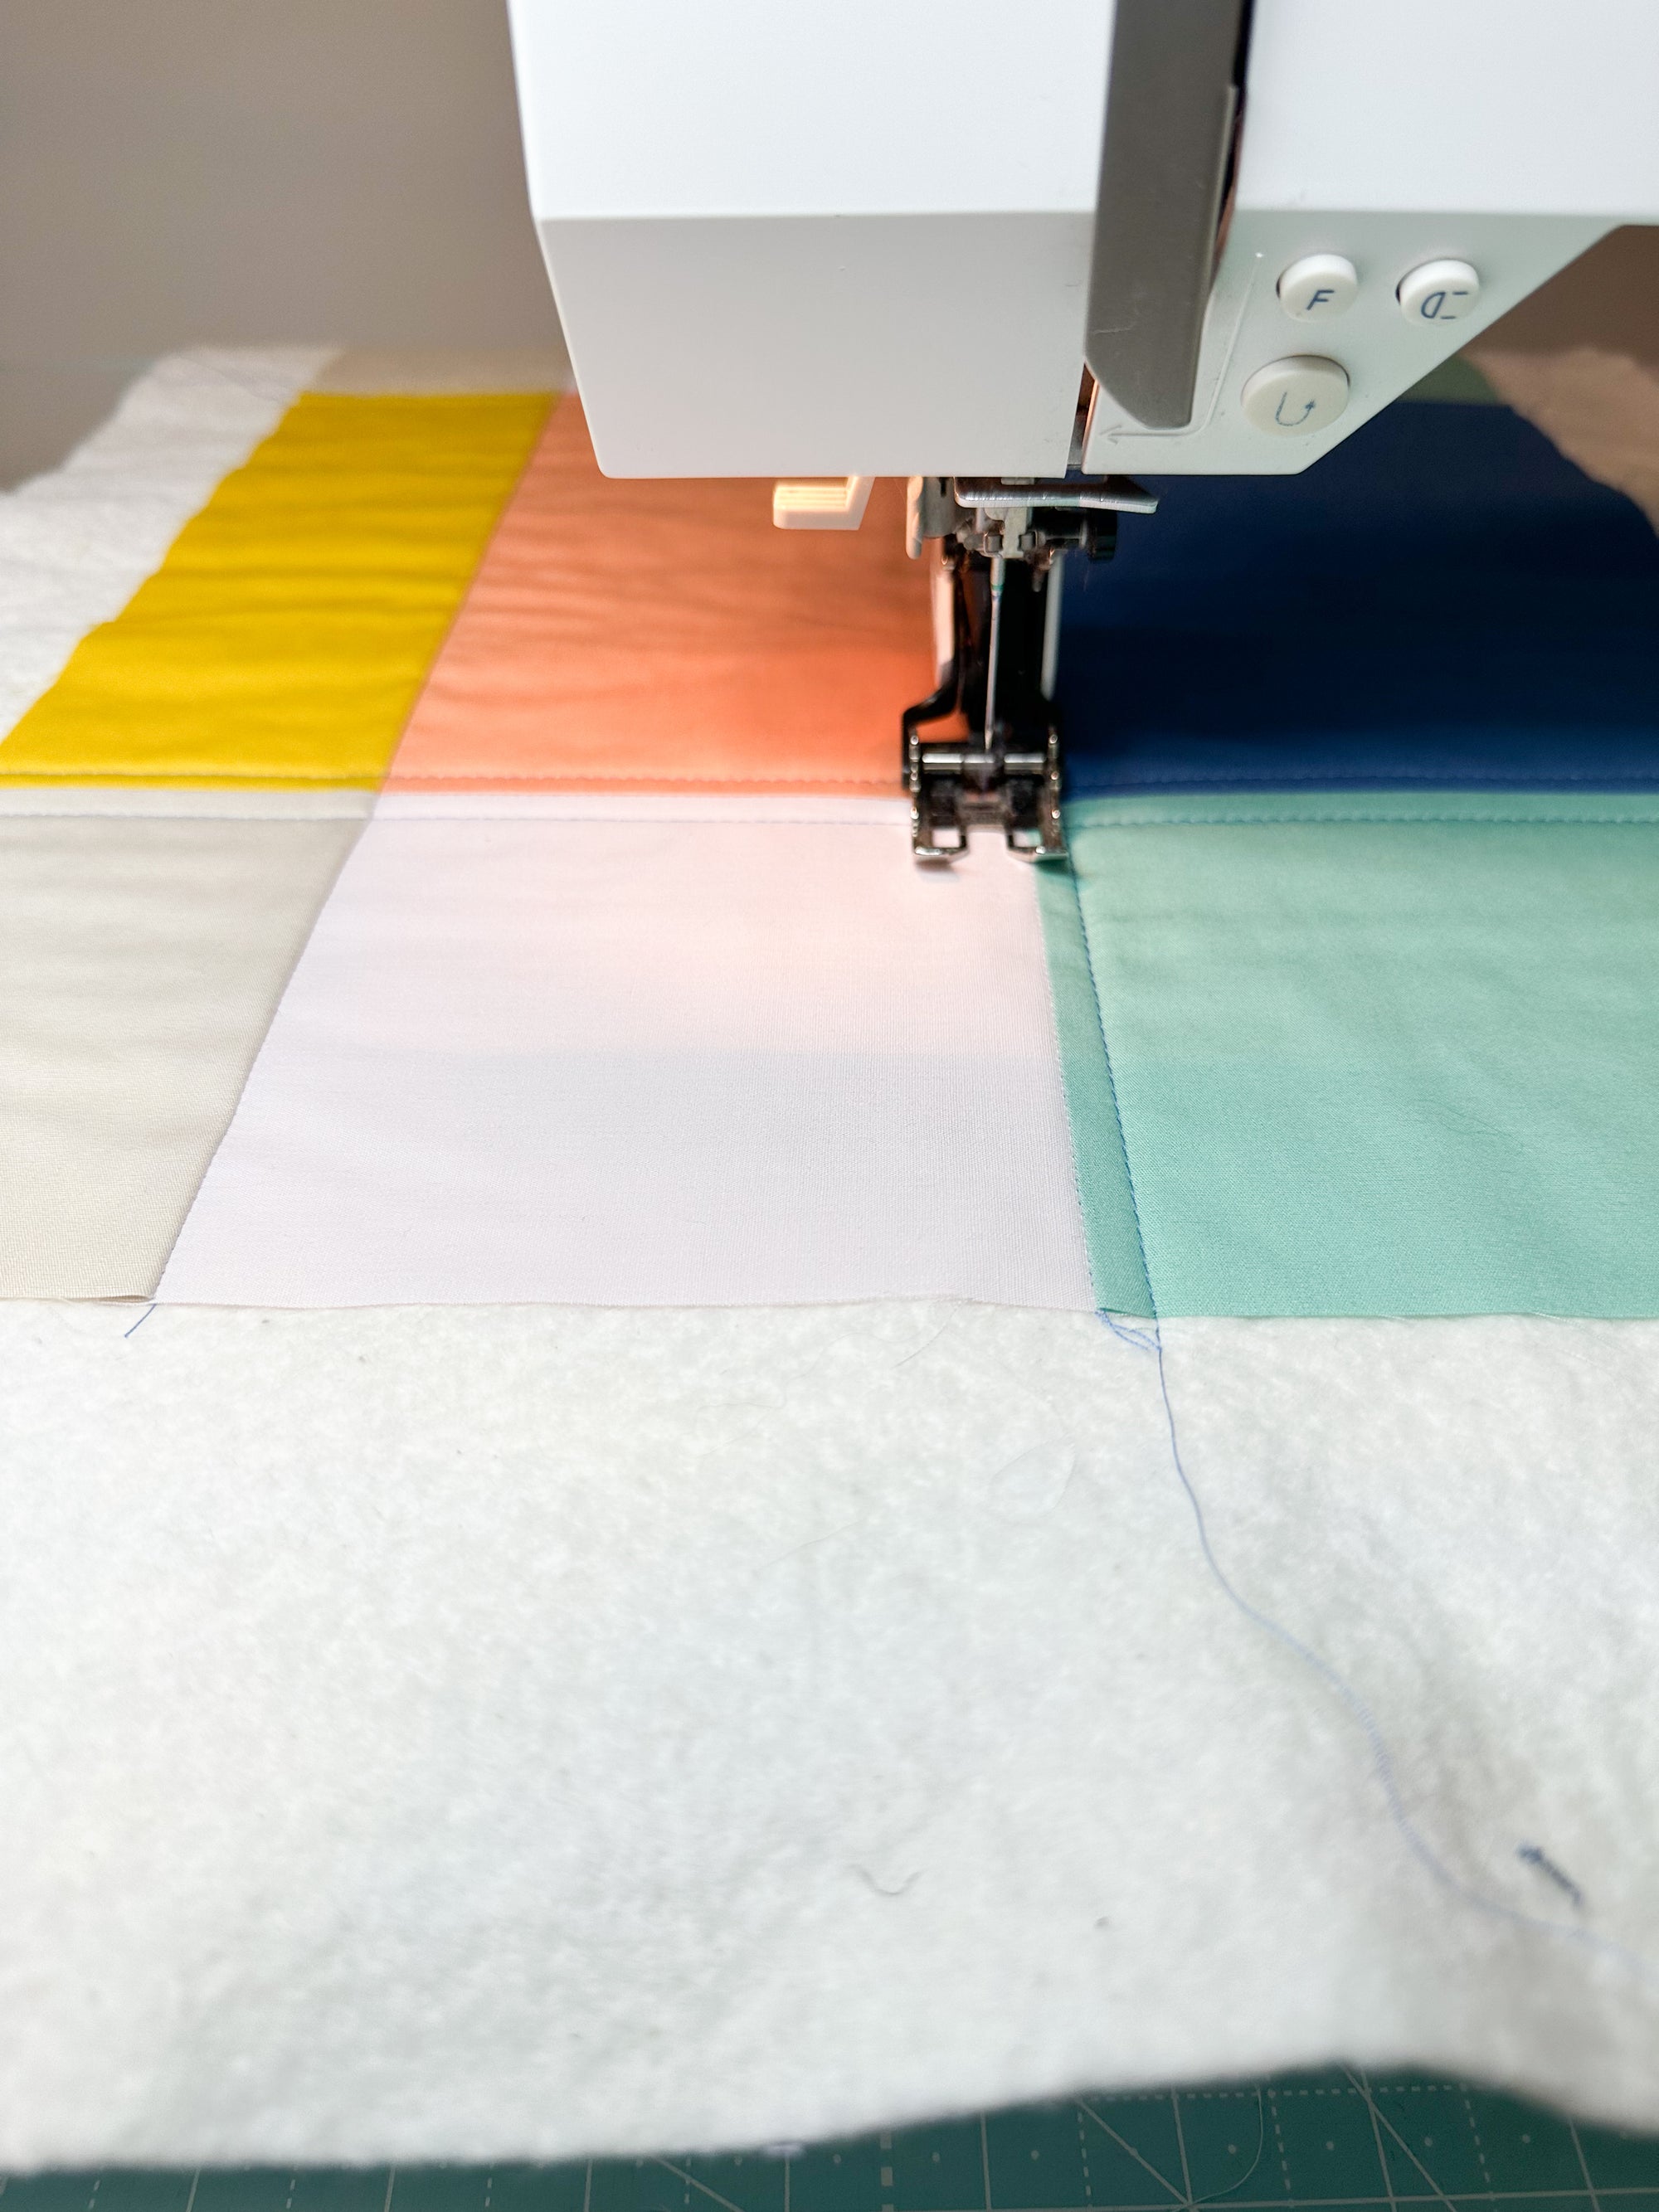
Step 1: Piece, Baste, and Quilt
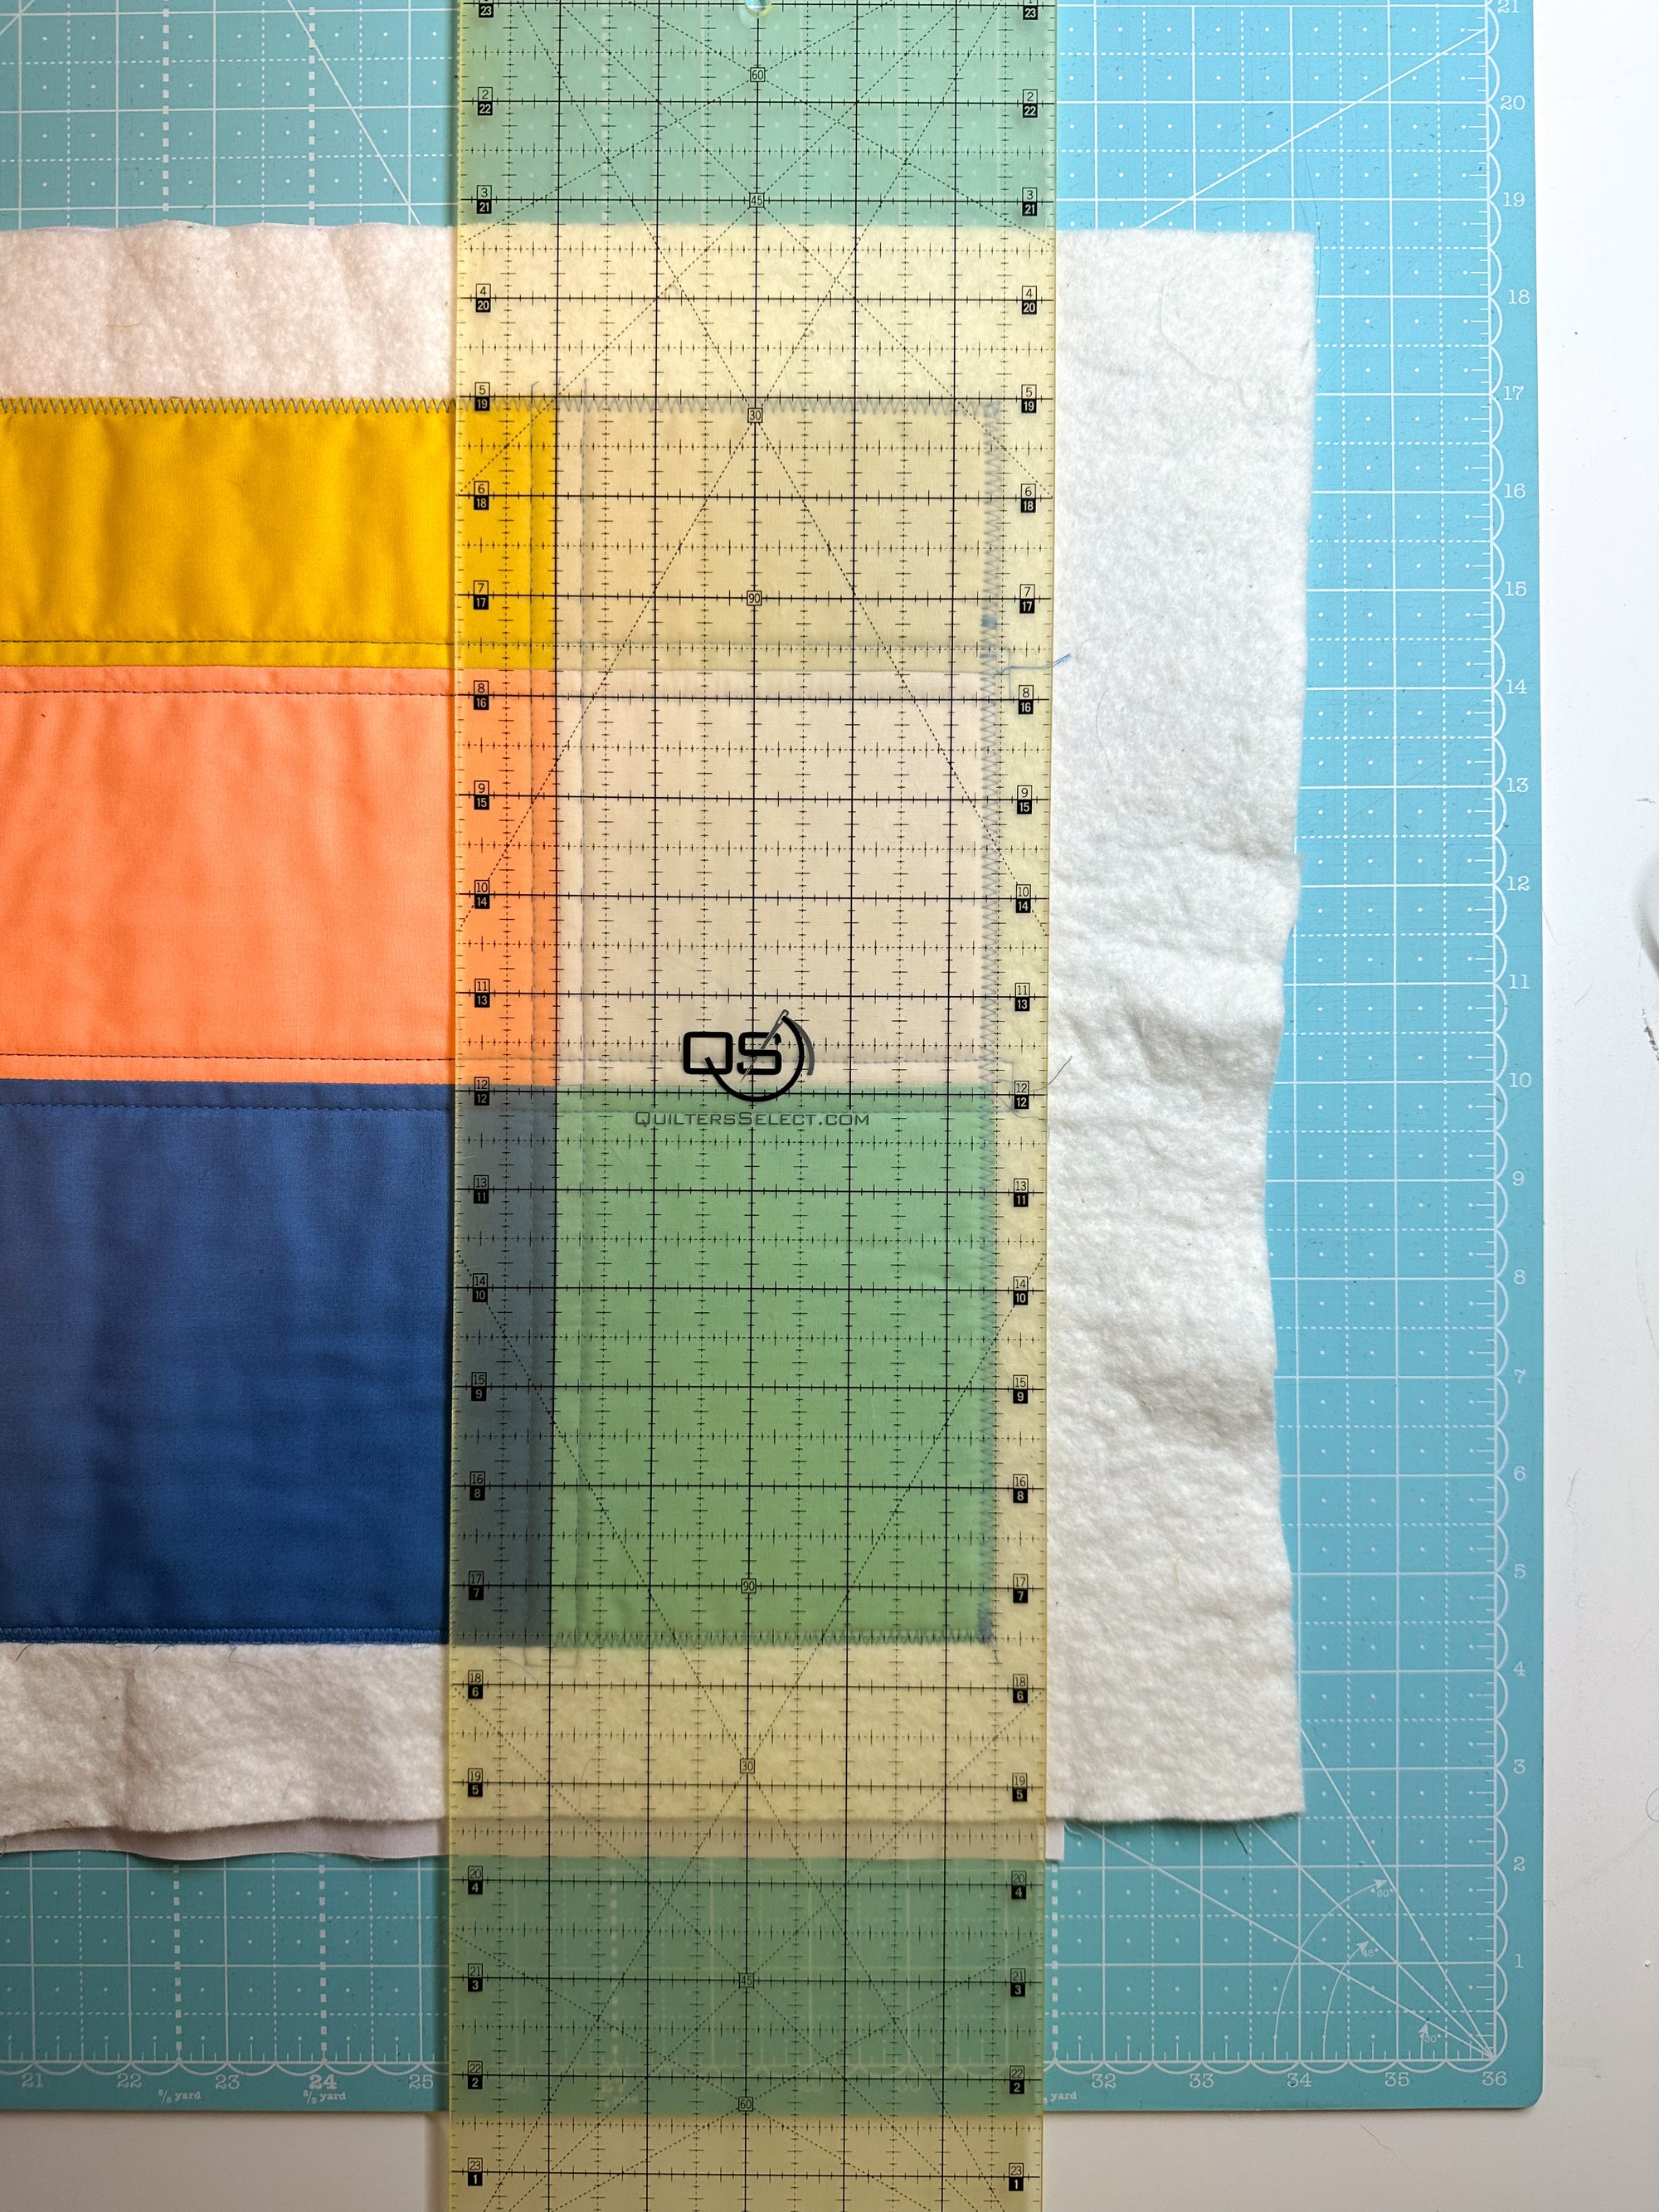
You can either piece a block or simply use a whole piece of fabric. You will want to make sure that your block is bigger than your bulletin board; I recommend that it be 2” bigger in both height and width. You will need the extra fabric in order to wrap it around your bulletin board. In this example, I pieced together a block from the Toad and Sew Nordic Nook Mystery quilt; my bulletin board was ⅜ inches thick and was 11” x 15” (I did cut my bulletin board down to get it to be this size) and so I made my finished block 12.5” x 17” (I was able to get away with the block being only an 1 ½” bigger on the width). Once I pieced my block, I then basted using batting and backing.


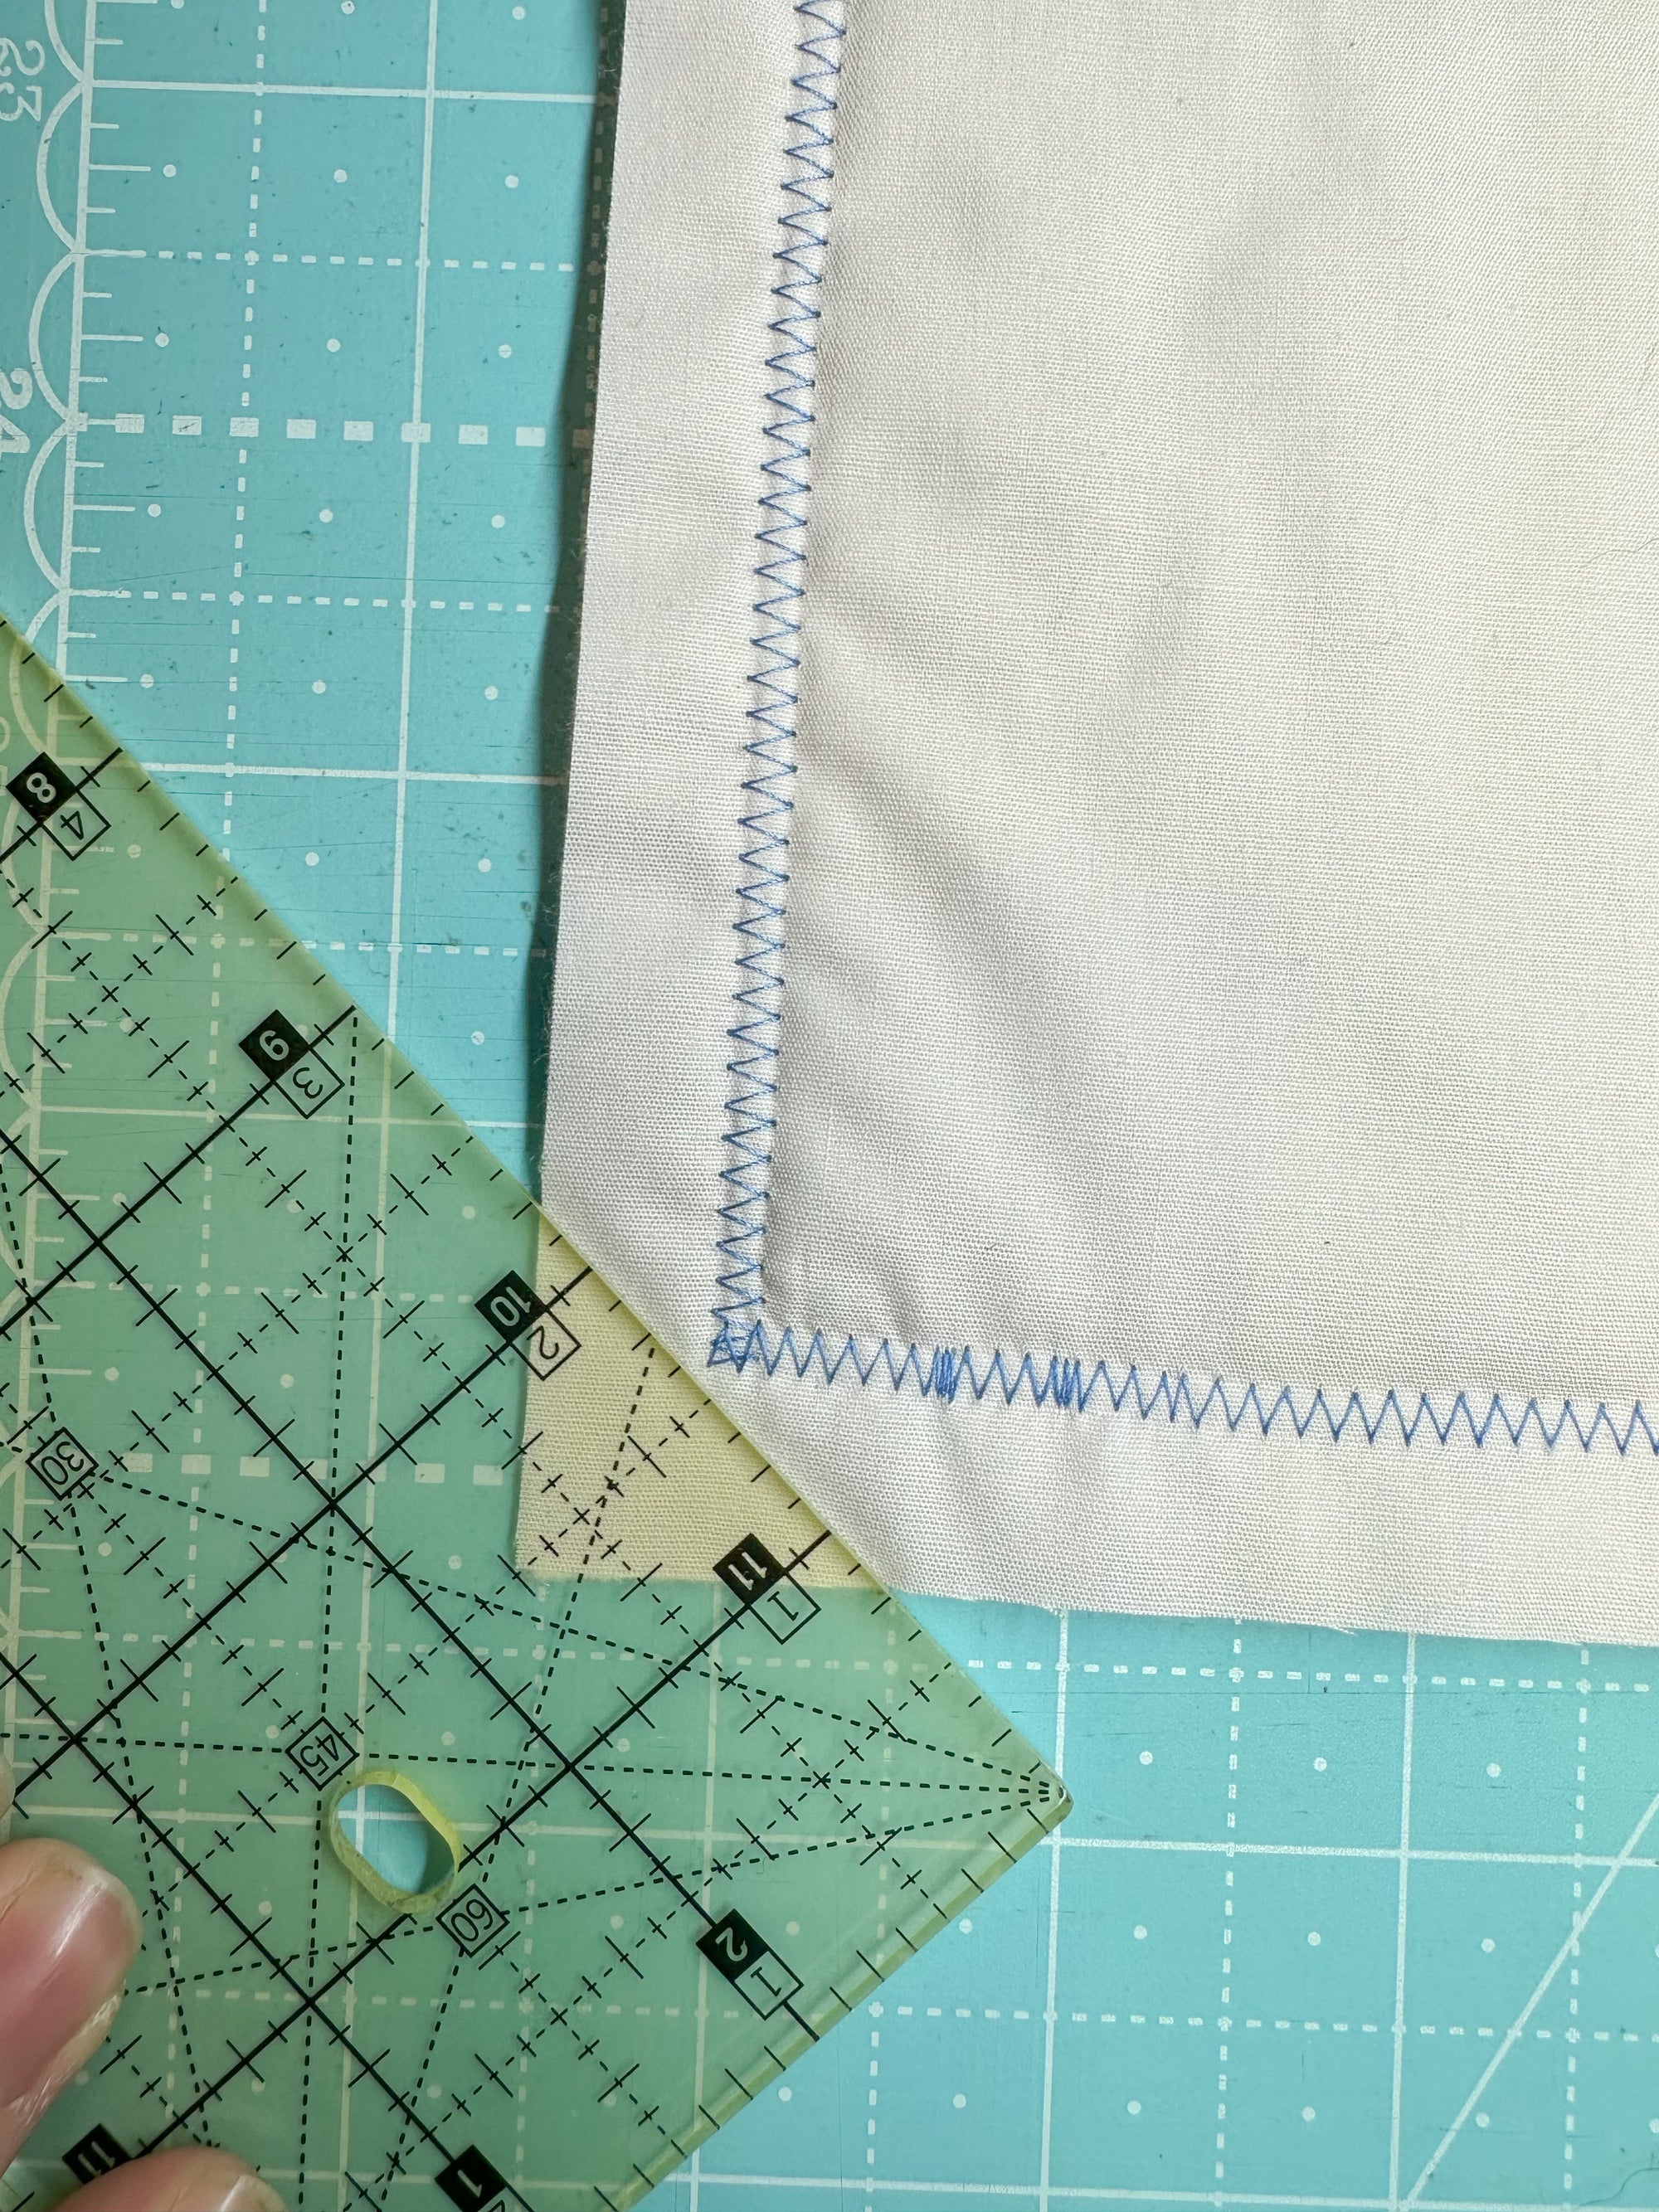
After basting, I then quilted it all together. I also did a zig-zag stitch all around the edges to make sure they stayed and were secured.
Step 2: Trim The Excess And Cut Your Corners
We will want to get rid of any extra bulk. I first trimmed off excess batting and backing; I measured half an inch beyond my block and cut off the rest.
Then I cut off my corners. I didn't want to trim into my block so I only cut off up to my zig-zag as shown below.
Step 3: Wrap and Secure
Now it’s time to attach your quilted block to the bulletin board. Putting your quilt block face down, lay your bulletin board center, also face down. This is when you will want to get your glue gun ready.
Do one side at a time and glue down the middle of each side. You will want to make sure you are pulling somewhat tight so that it looks taunt from the front.
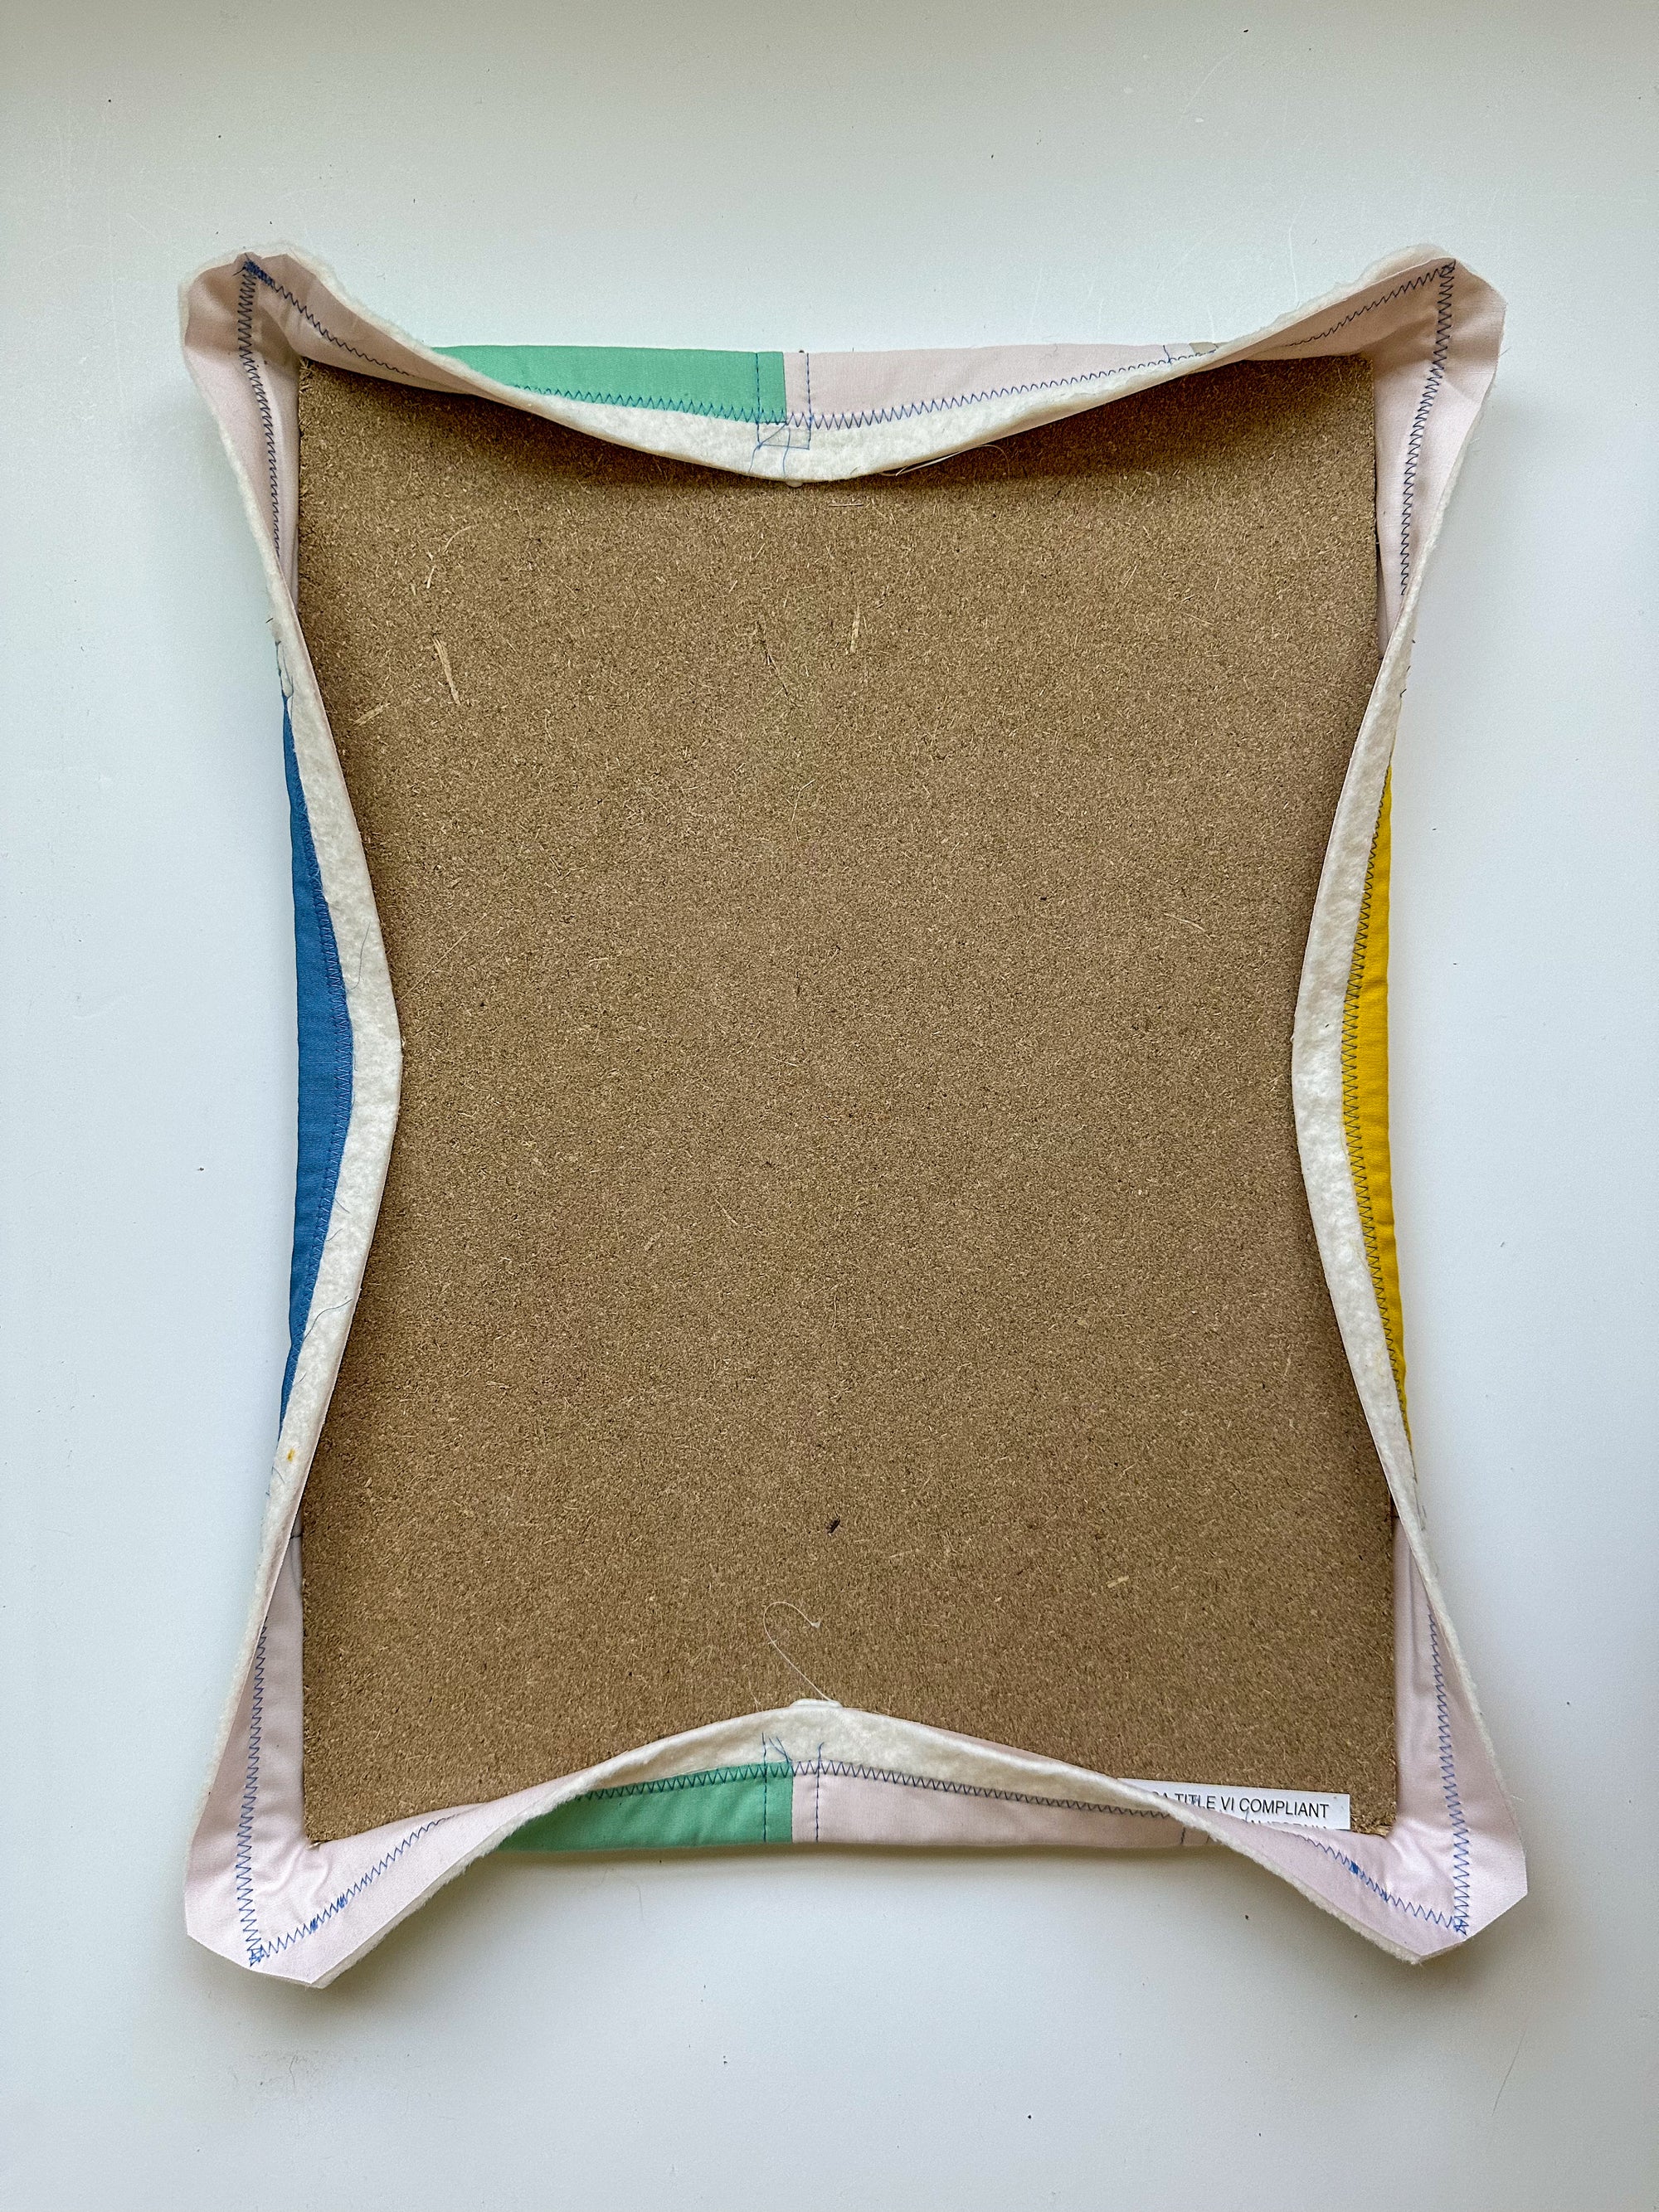
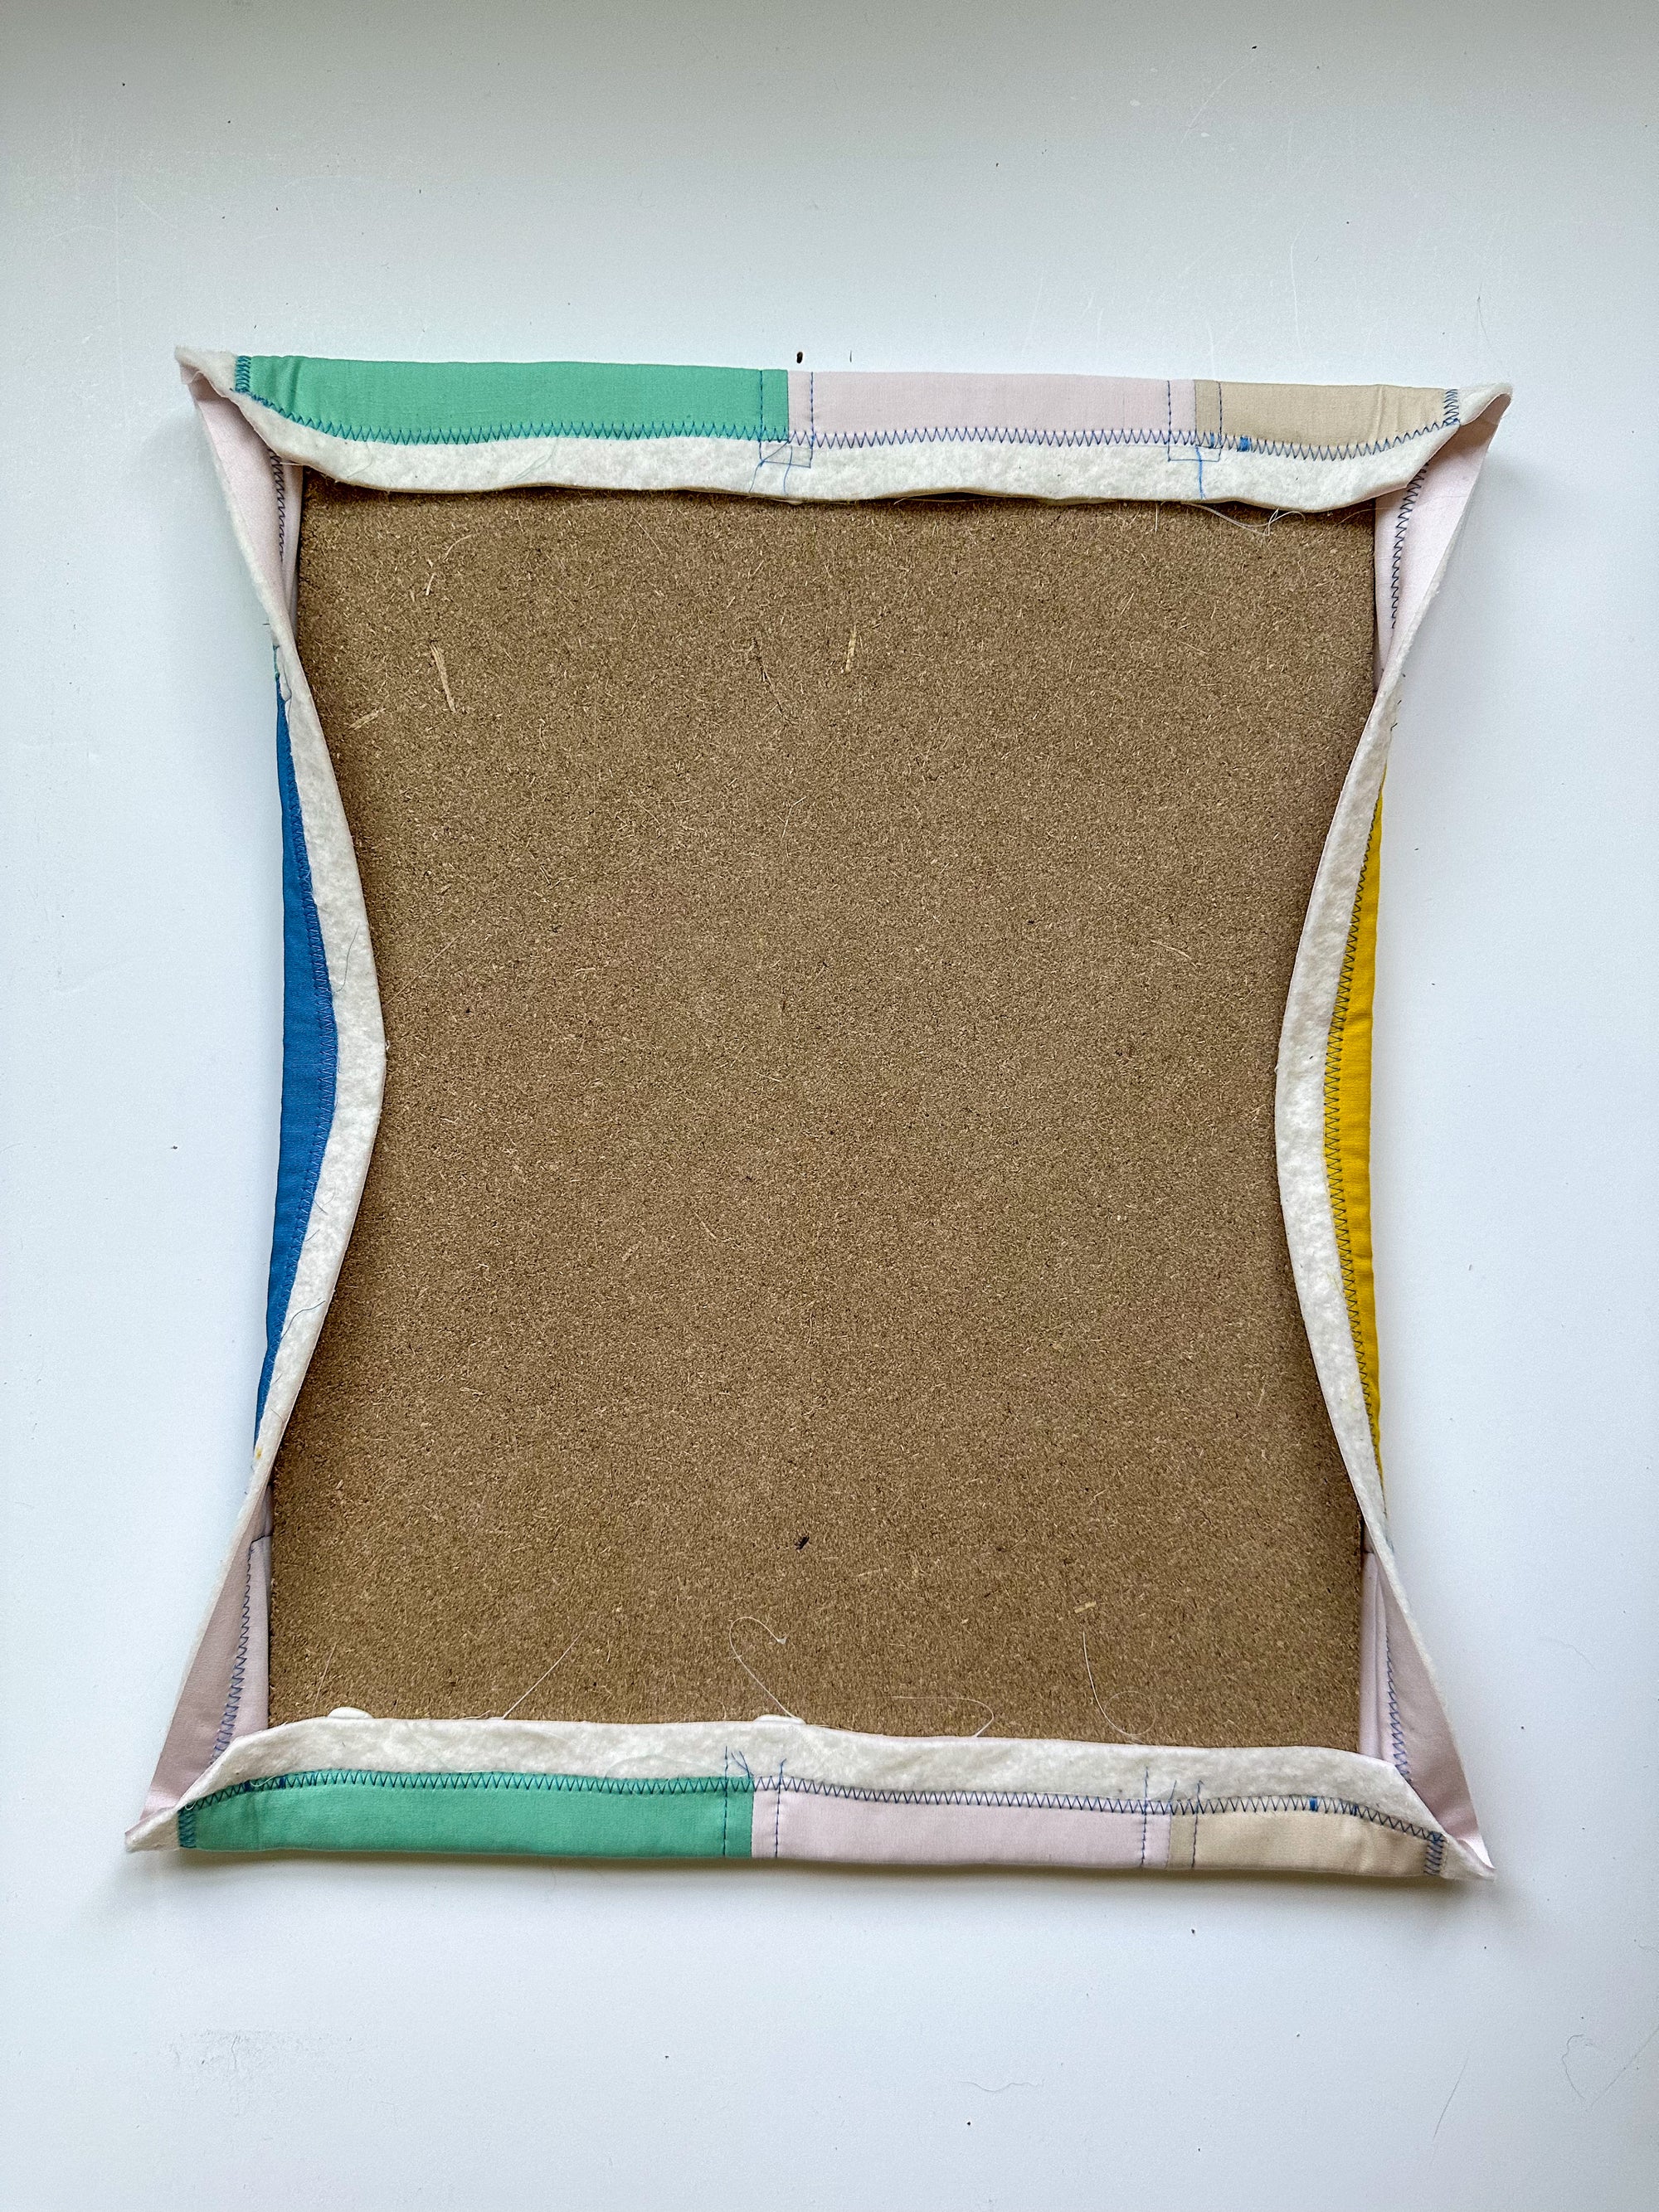
After you’ve secured the middle of all your sides then we are going to work from the middle out towards the corners. To get a consistent look you will want to mirror what goes down first. For example I did the top and bottom all the way down and then folded over the sides.
You will want to practice folding the corner in order to get it nice and clean before securing it with the glue.
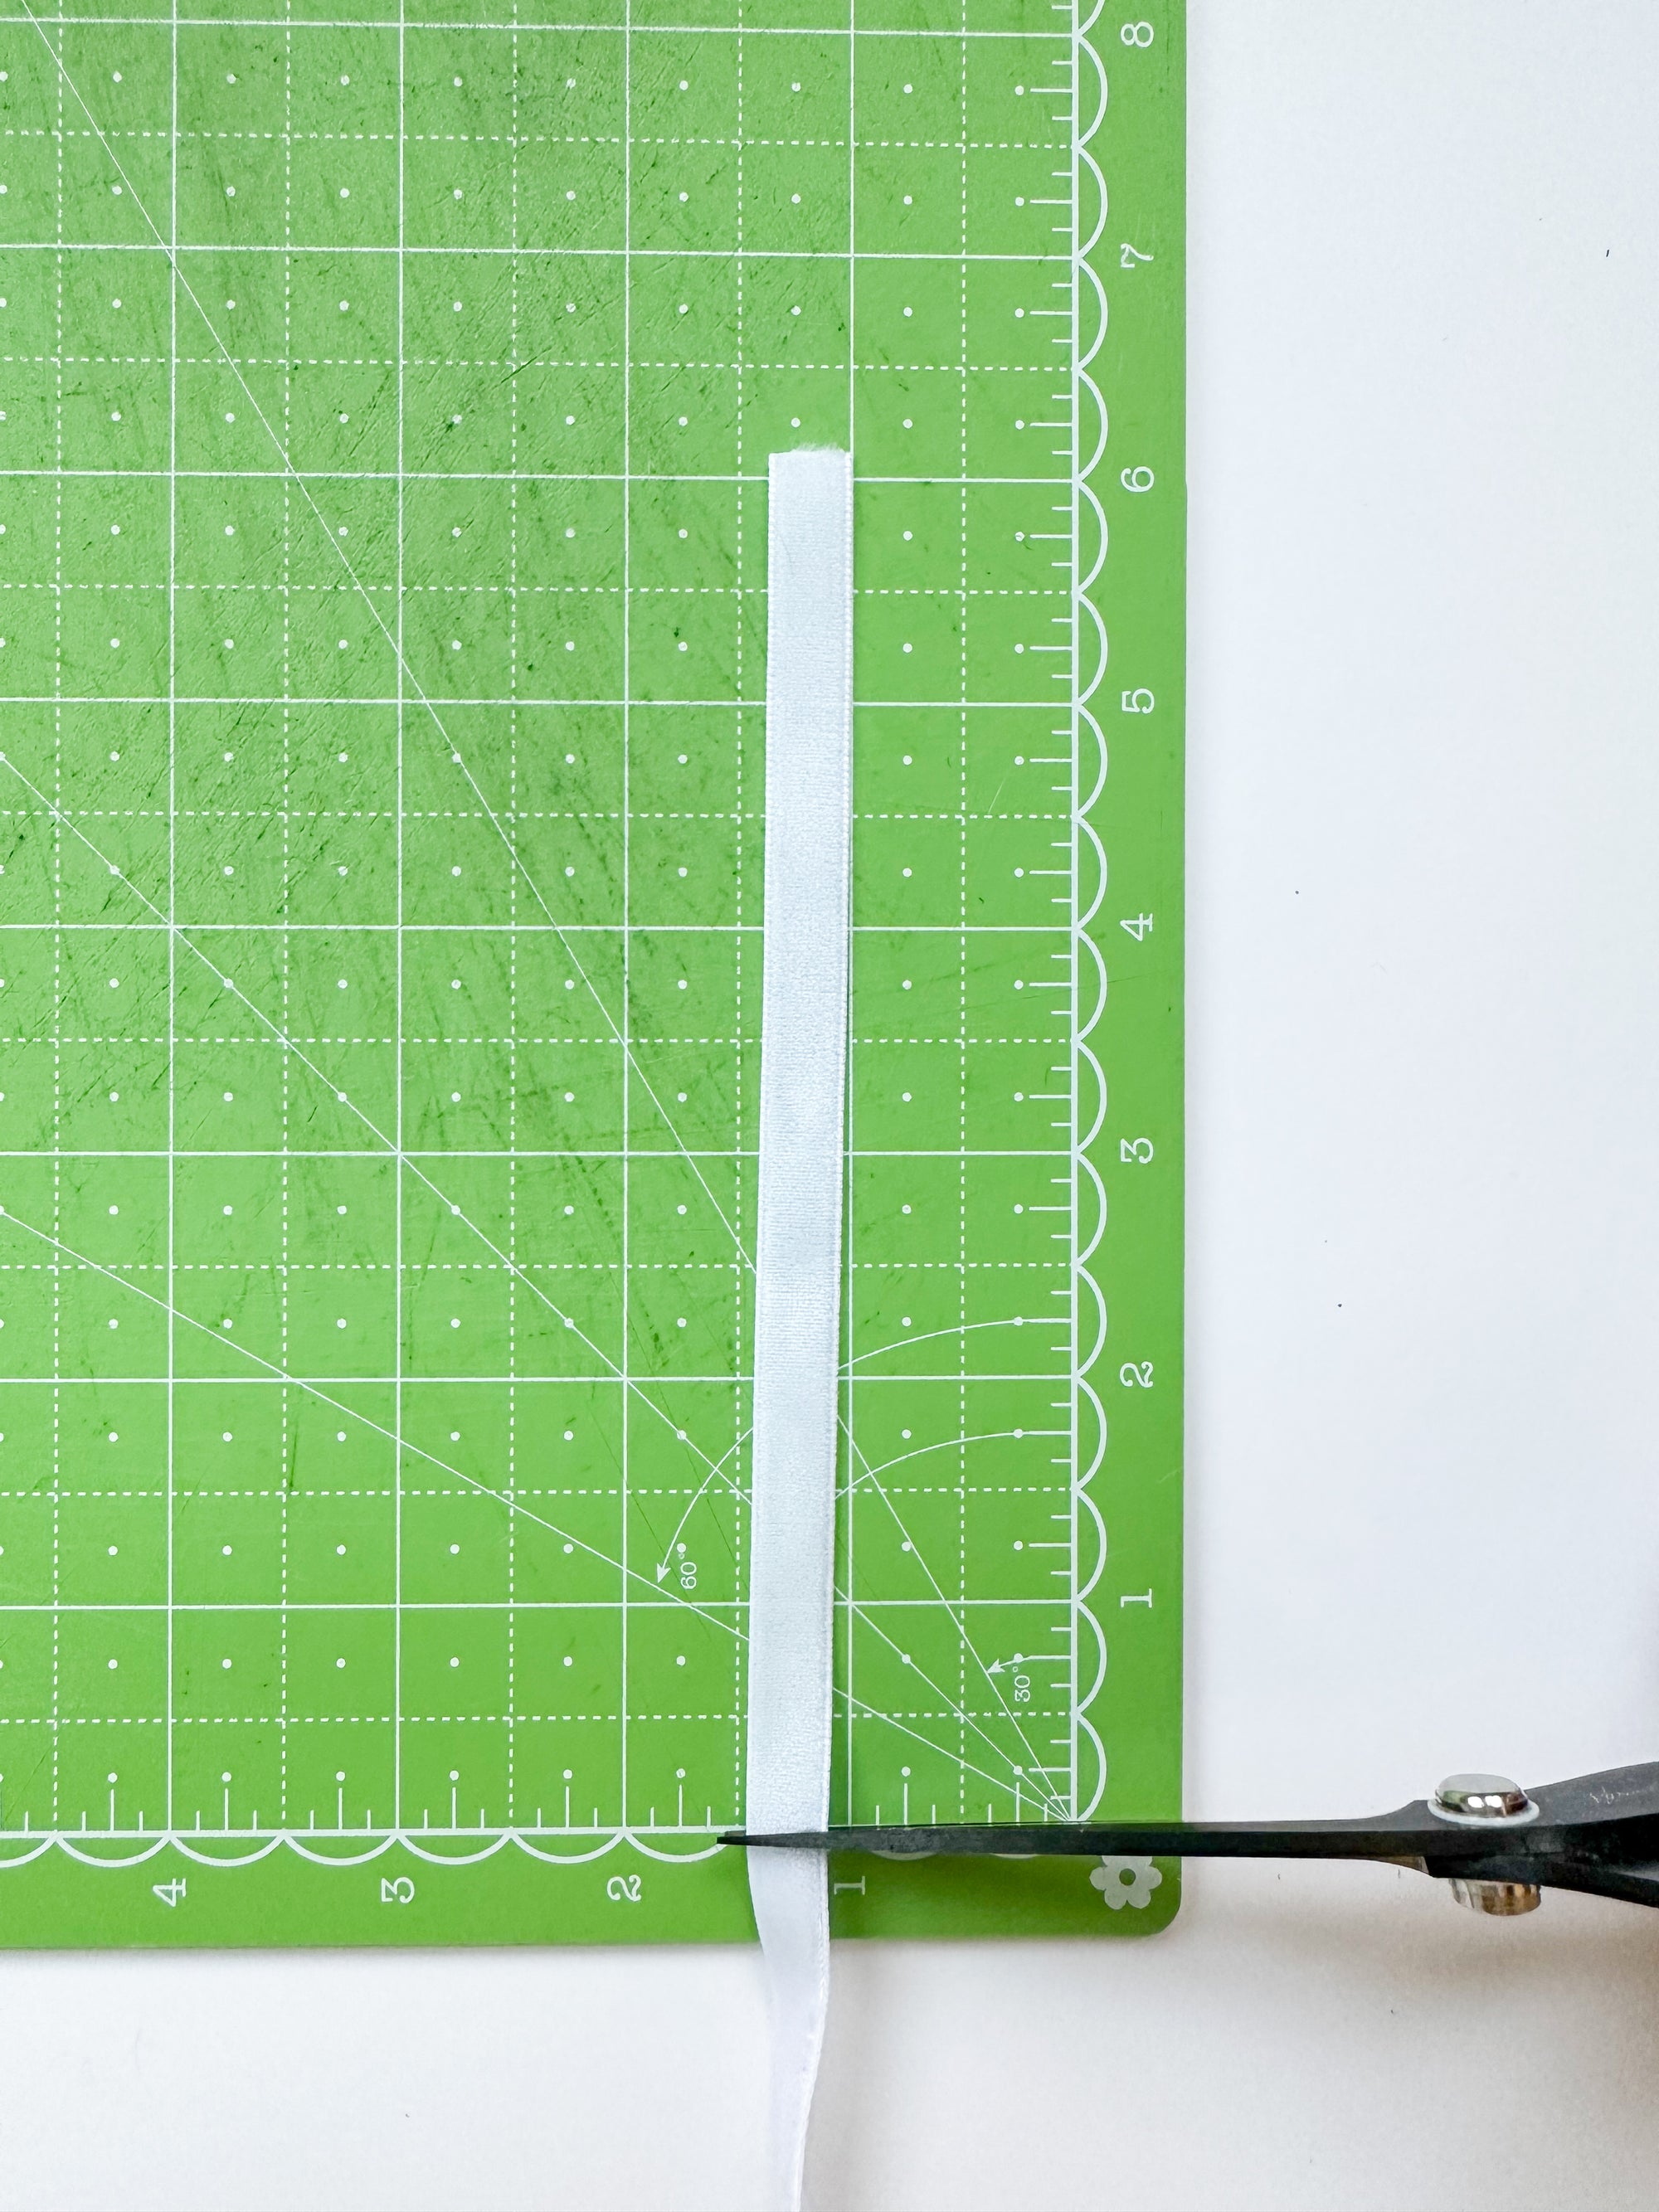
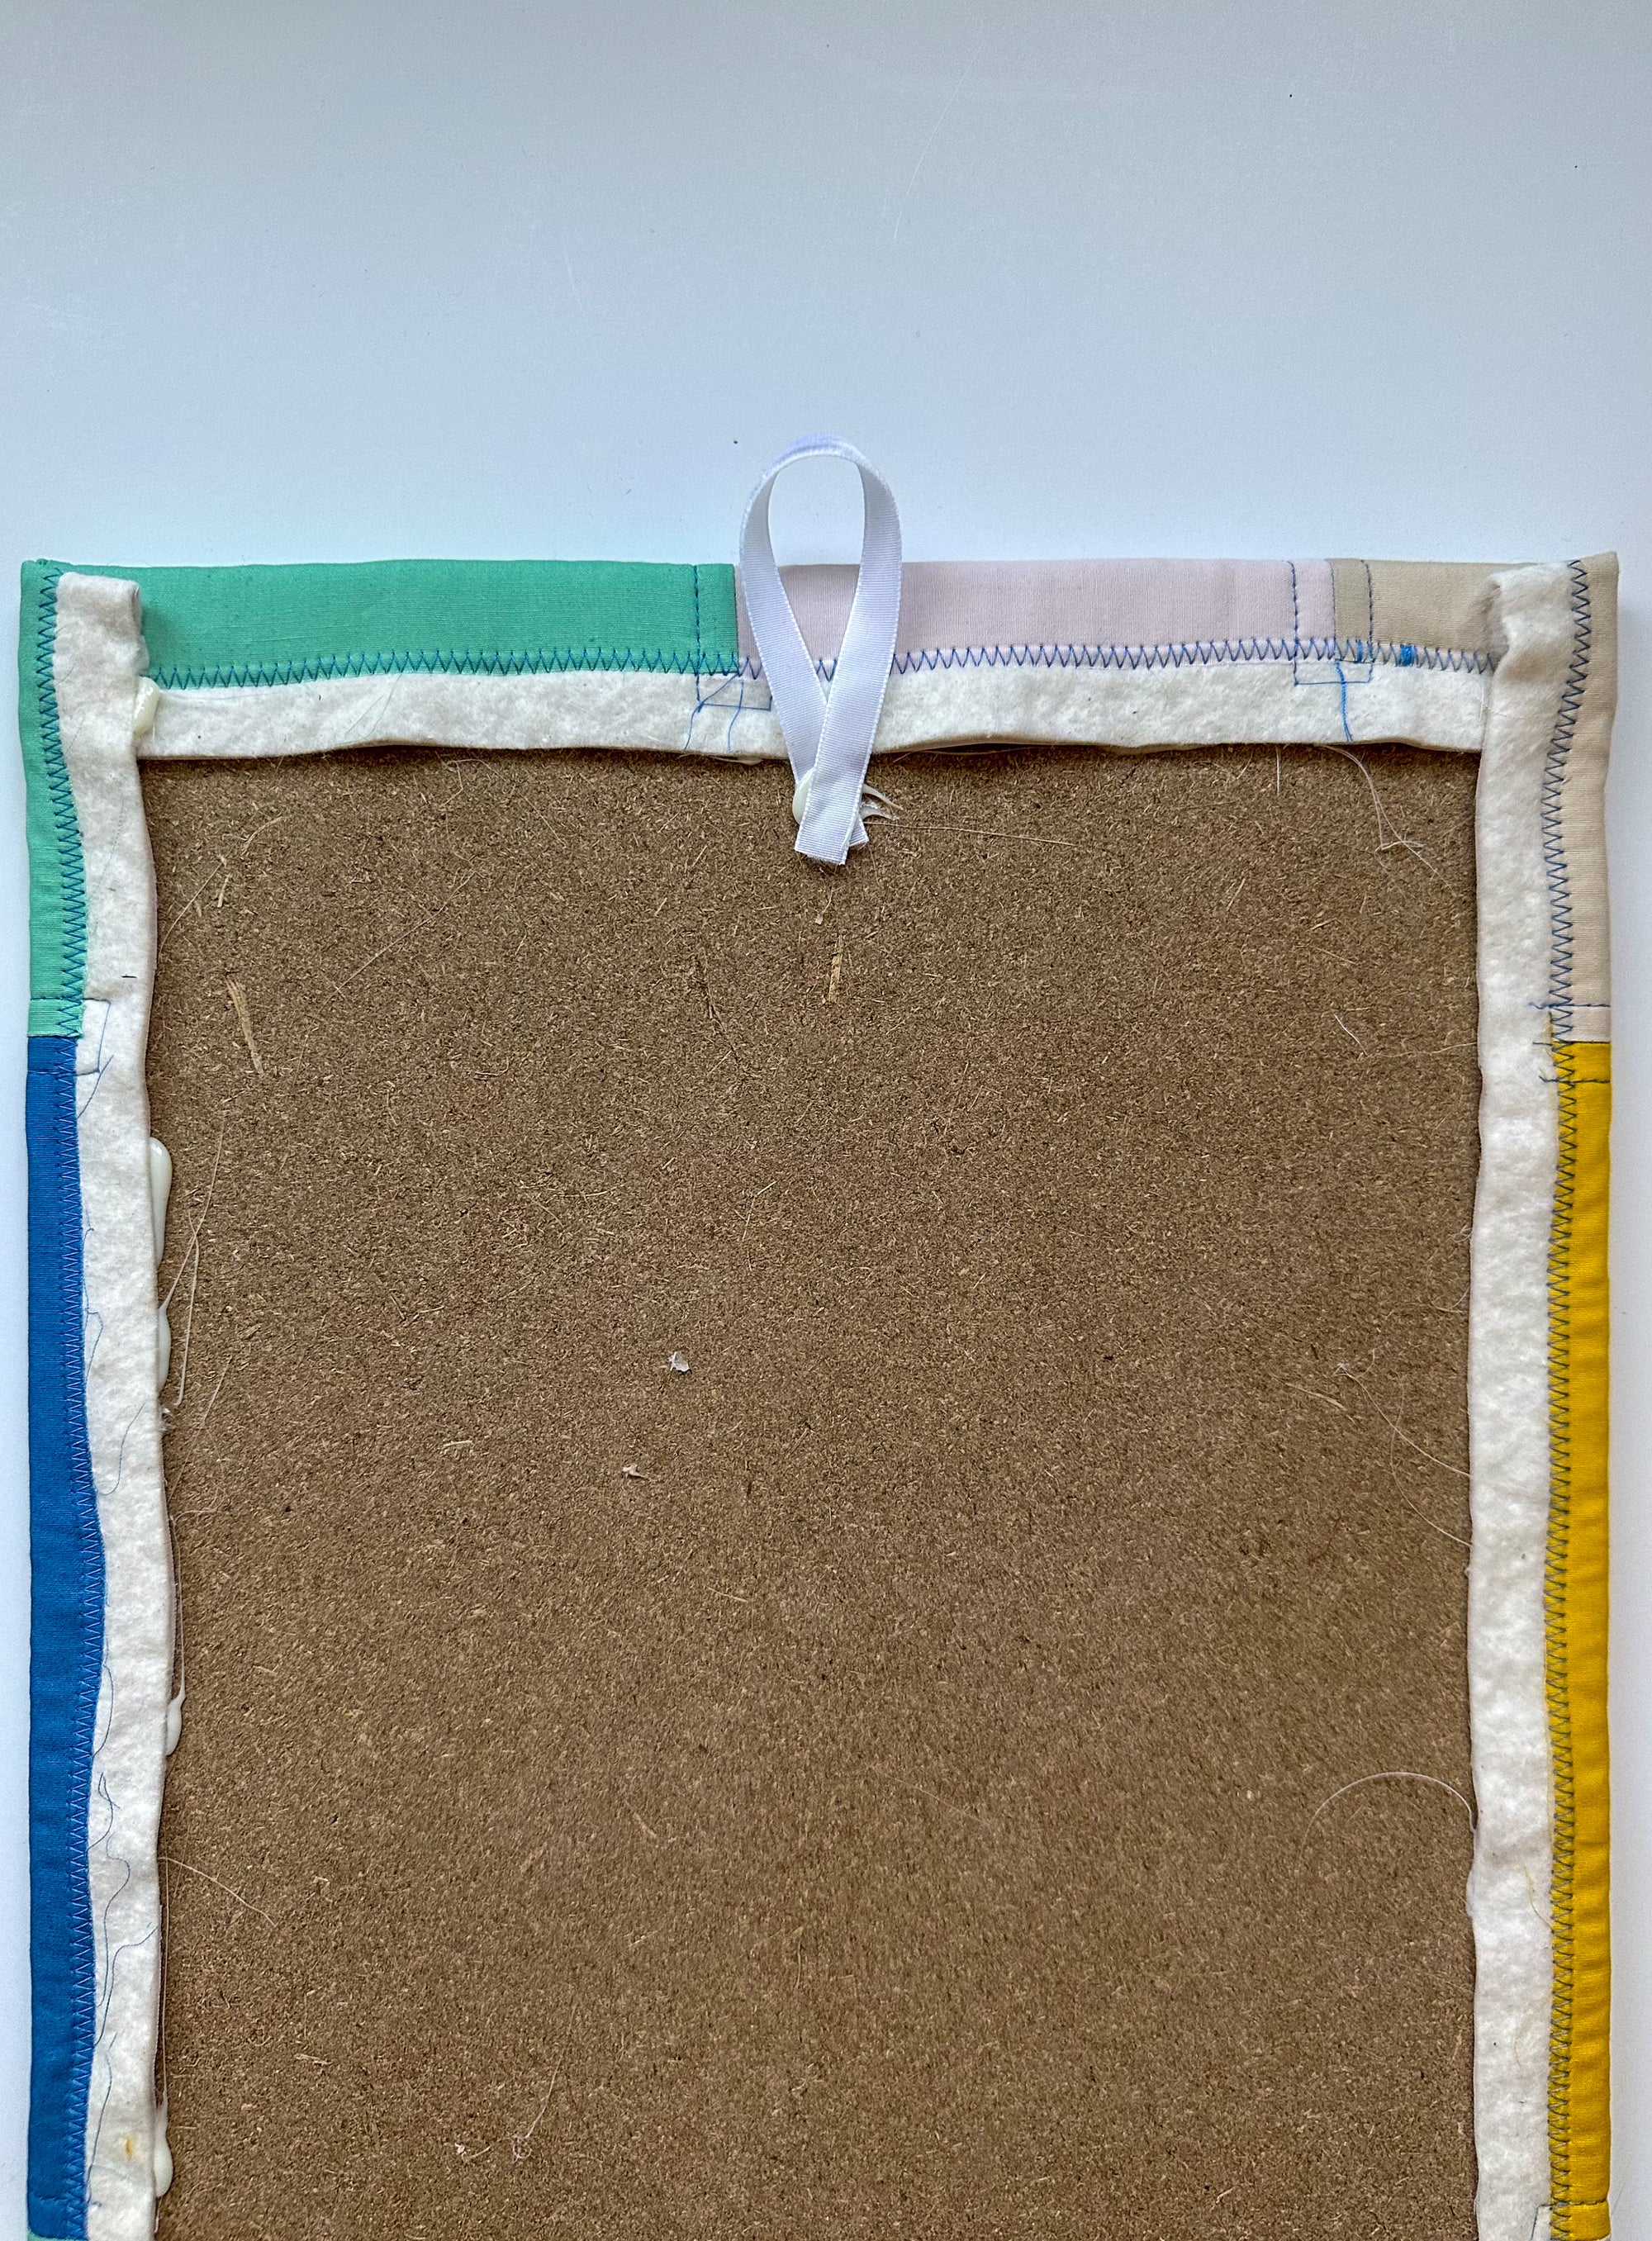
Step 4: Attach The Hanger
There are a few different ways you can hang your bulletin. In this example, we are just going to attach a loop of ribbon at the top. Another way you could also do this is purchase the picture frame sawtooth hangers and nail them into the back. I cut a piece of ribbon at 6” and then used my hot glue gun to attach at the top and in the middle.
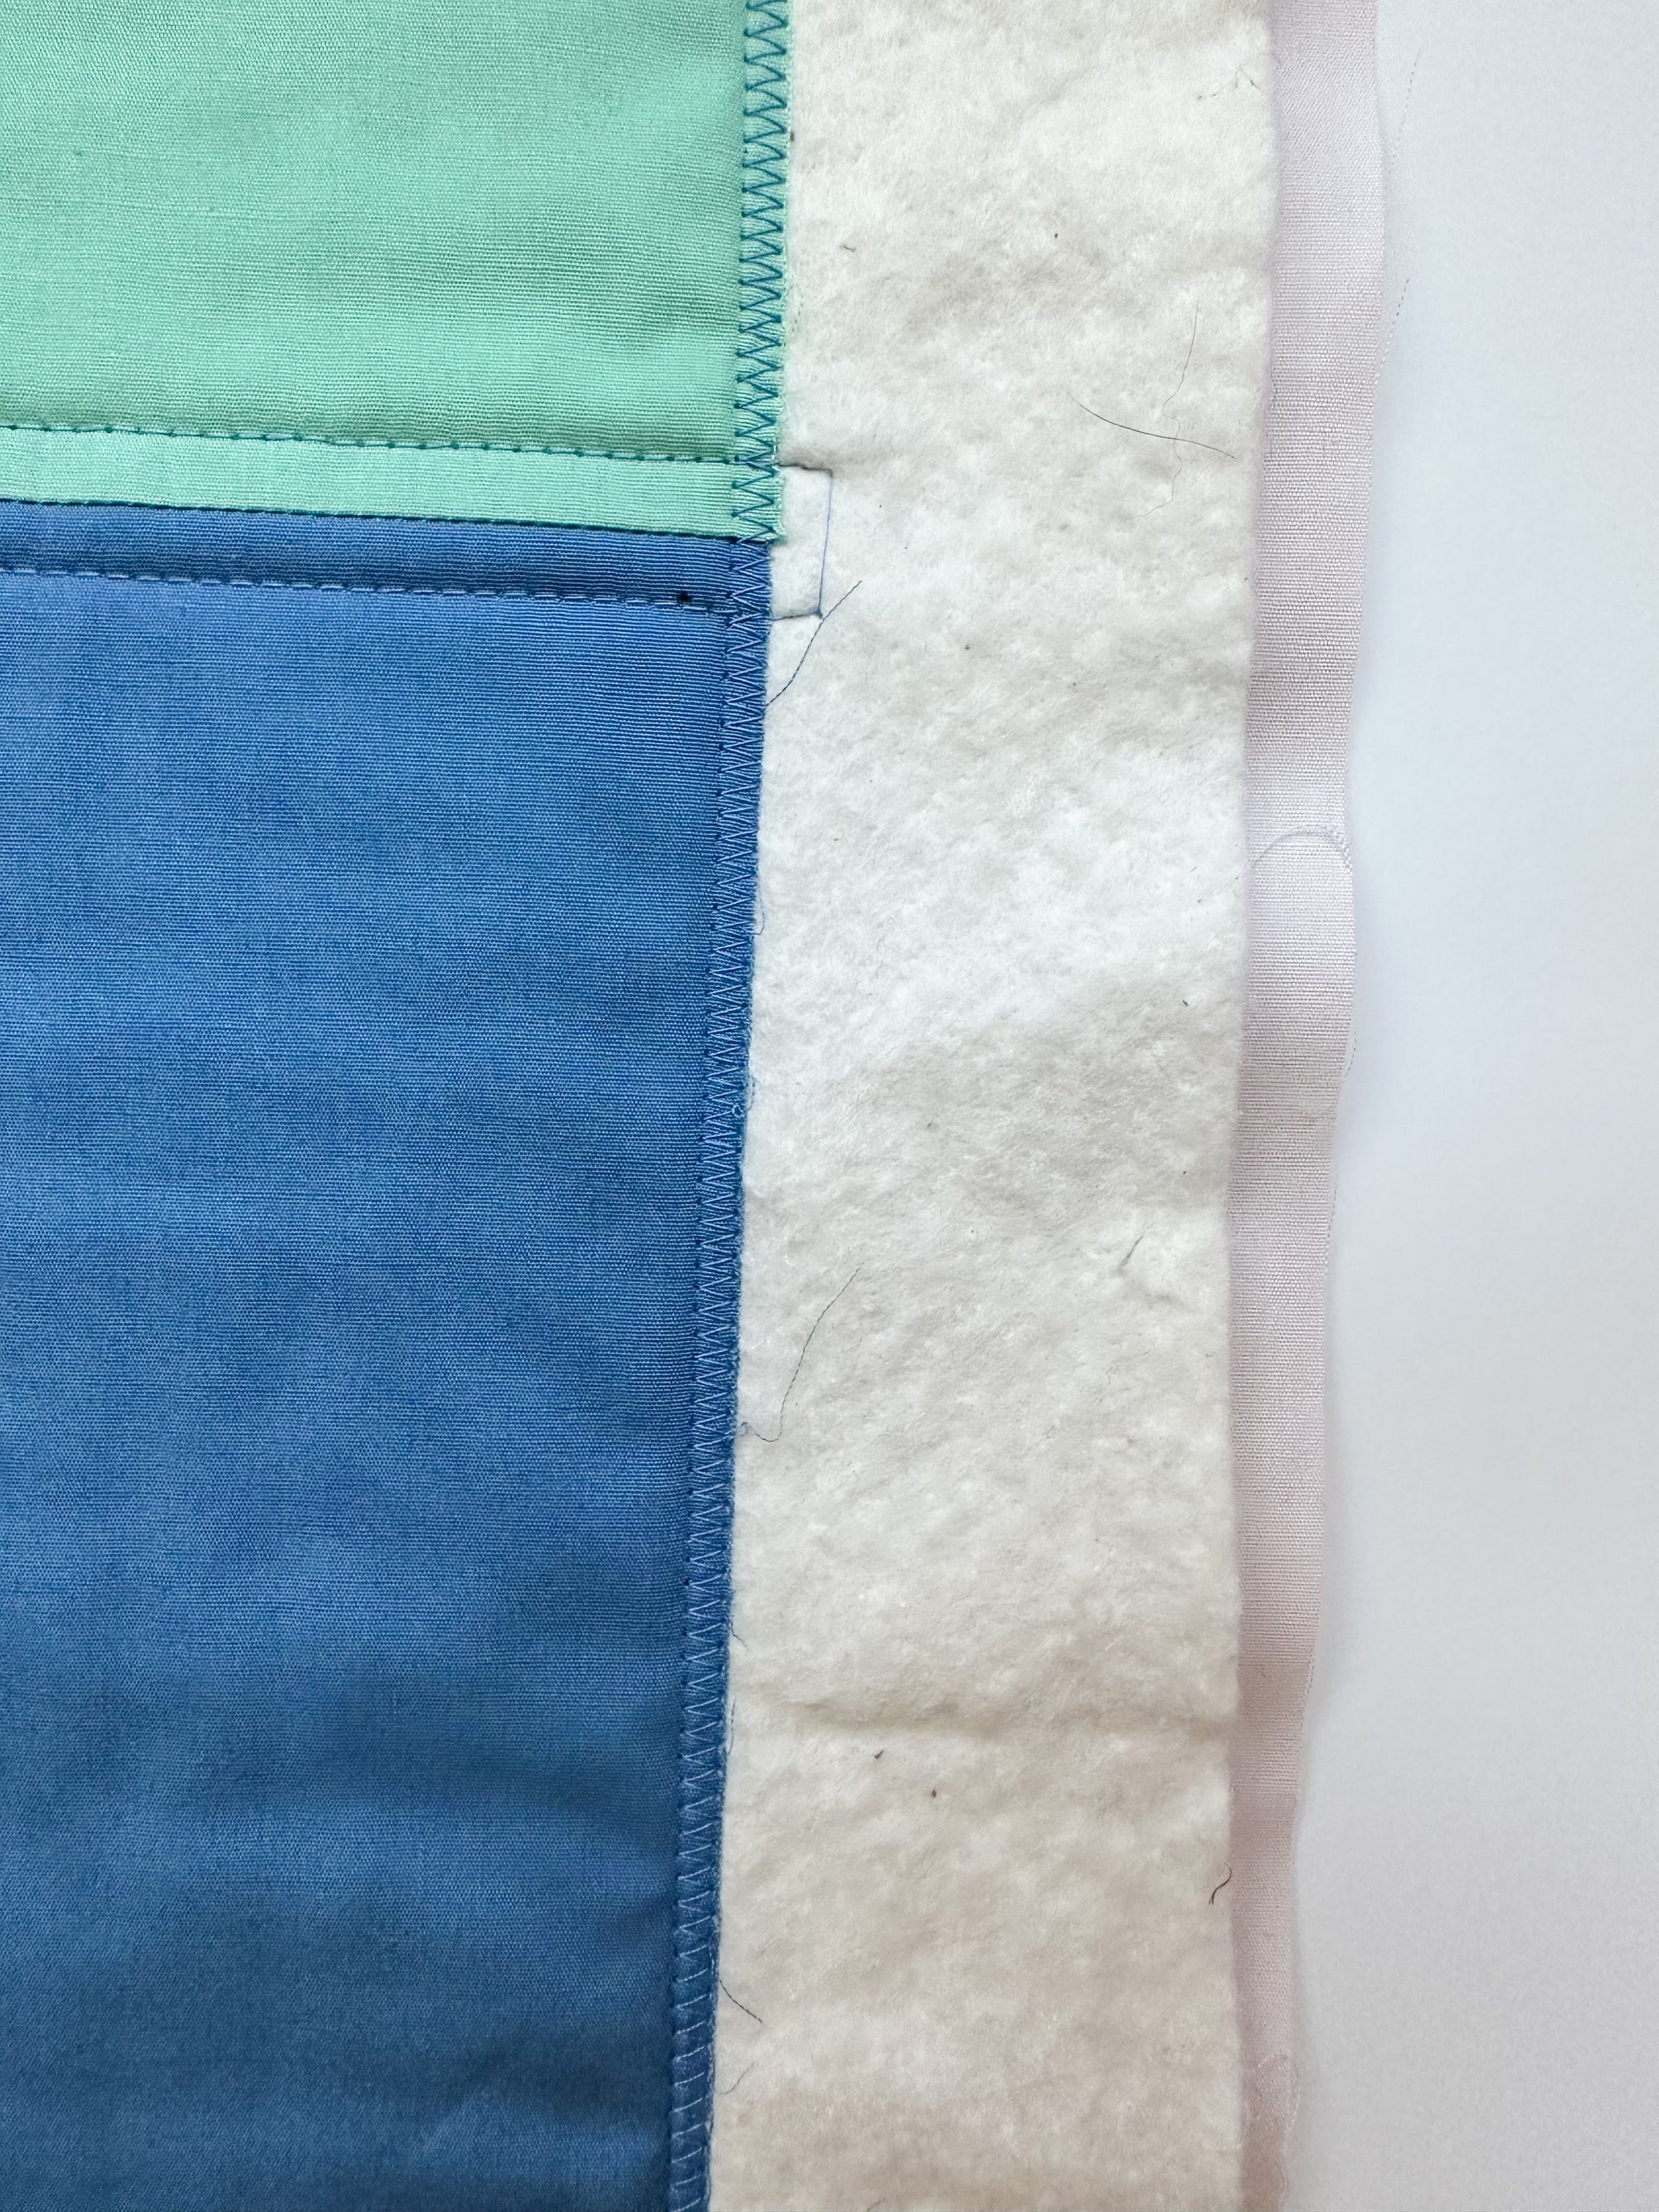
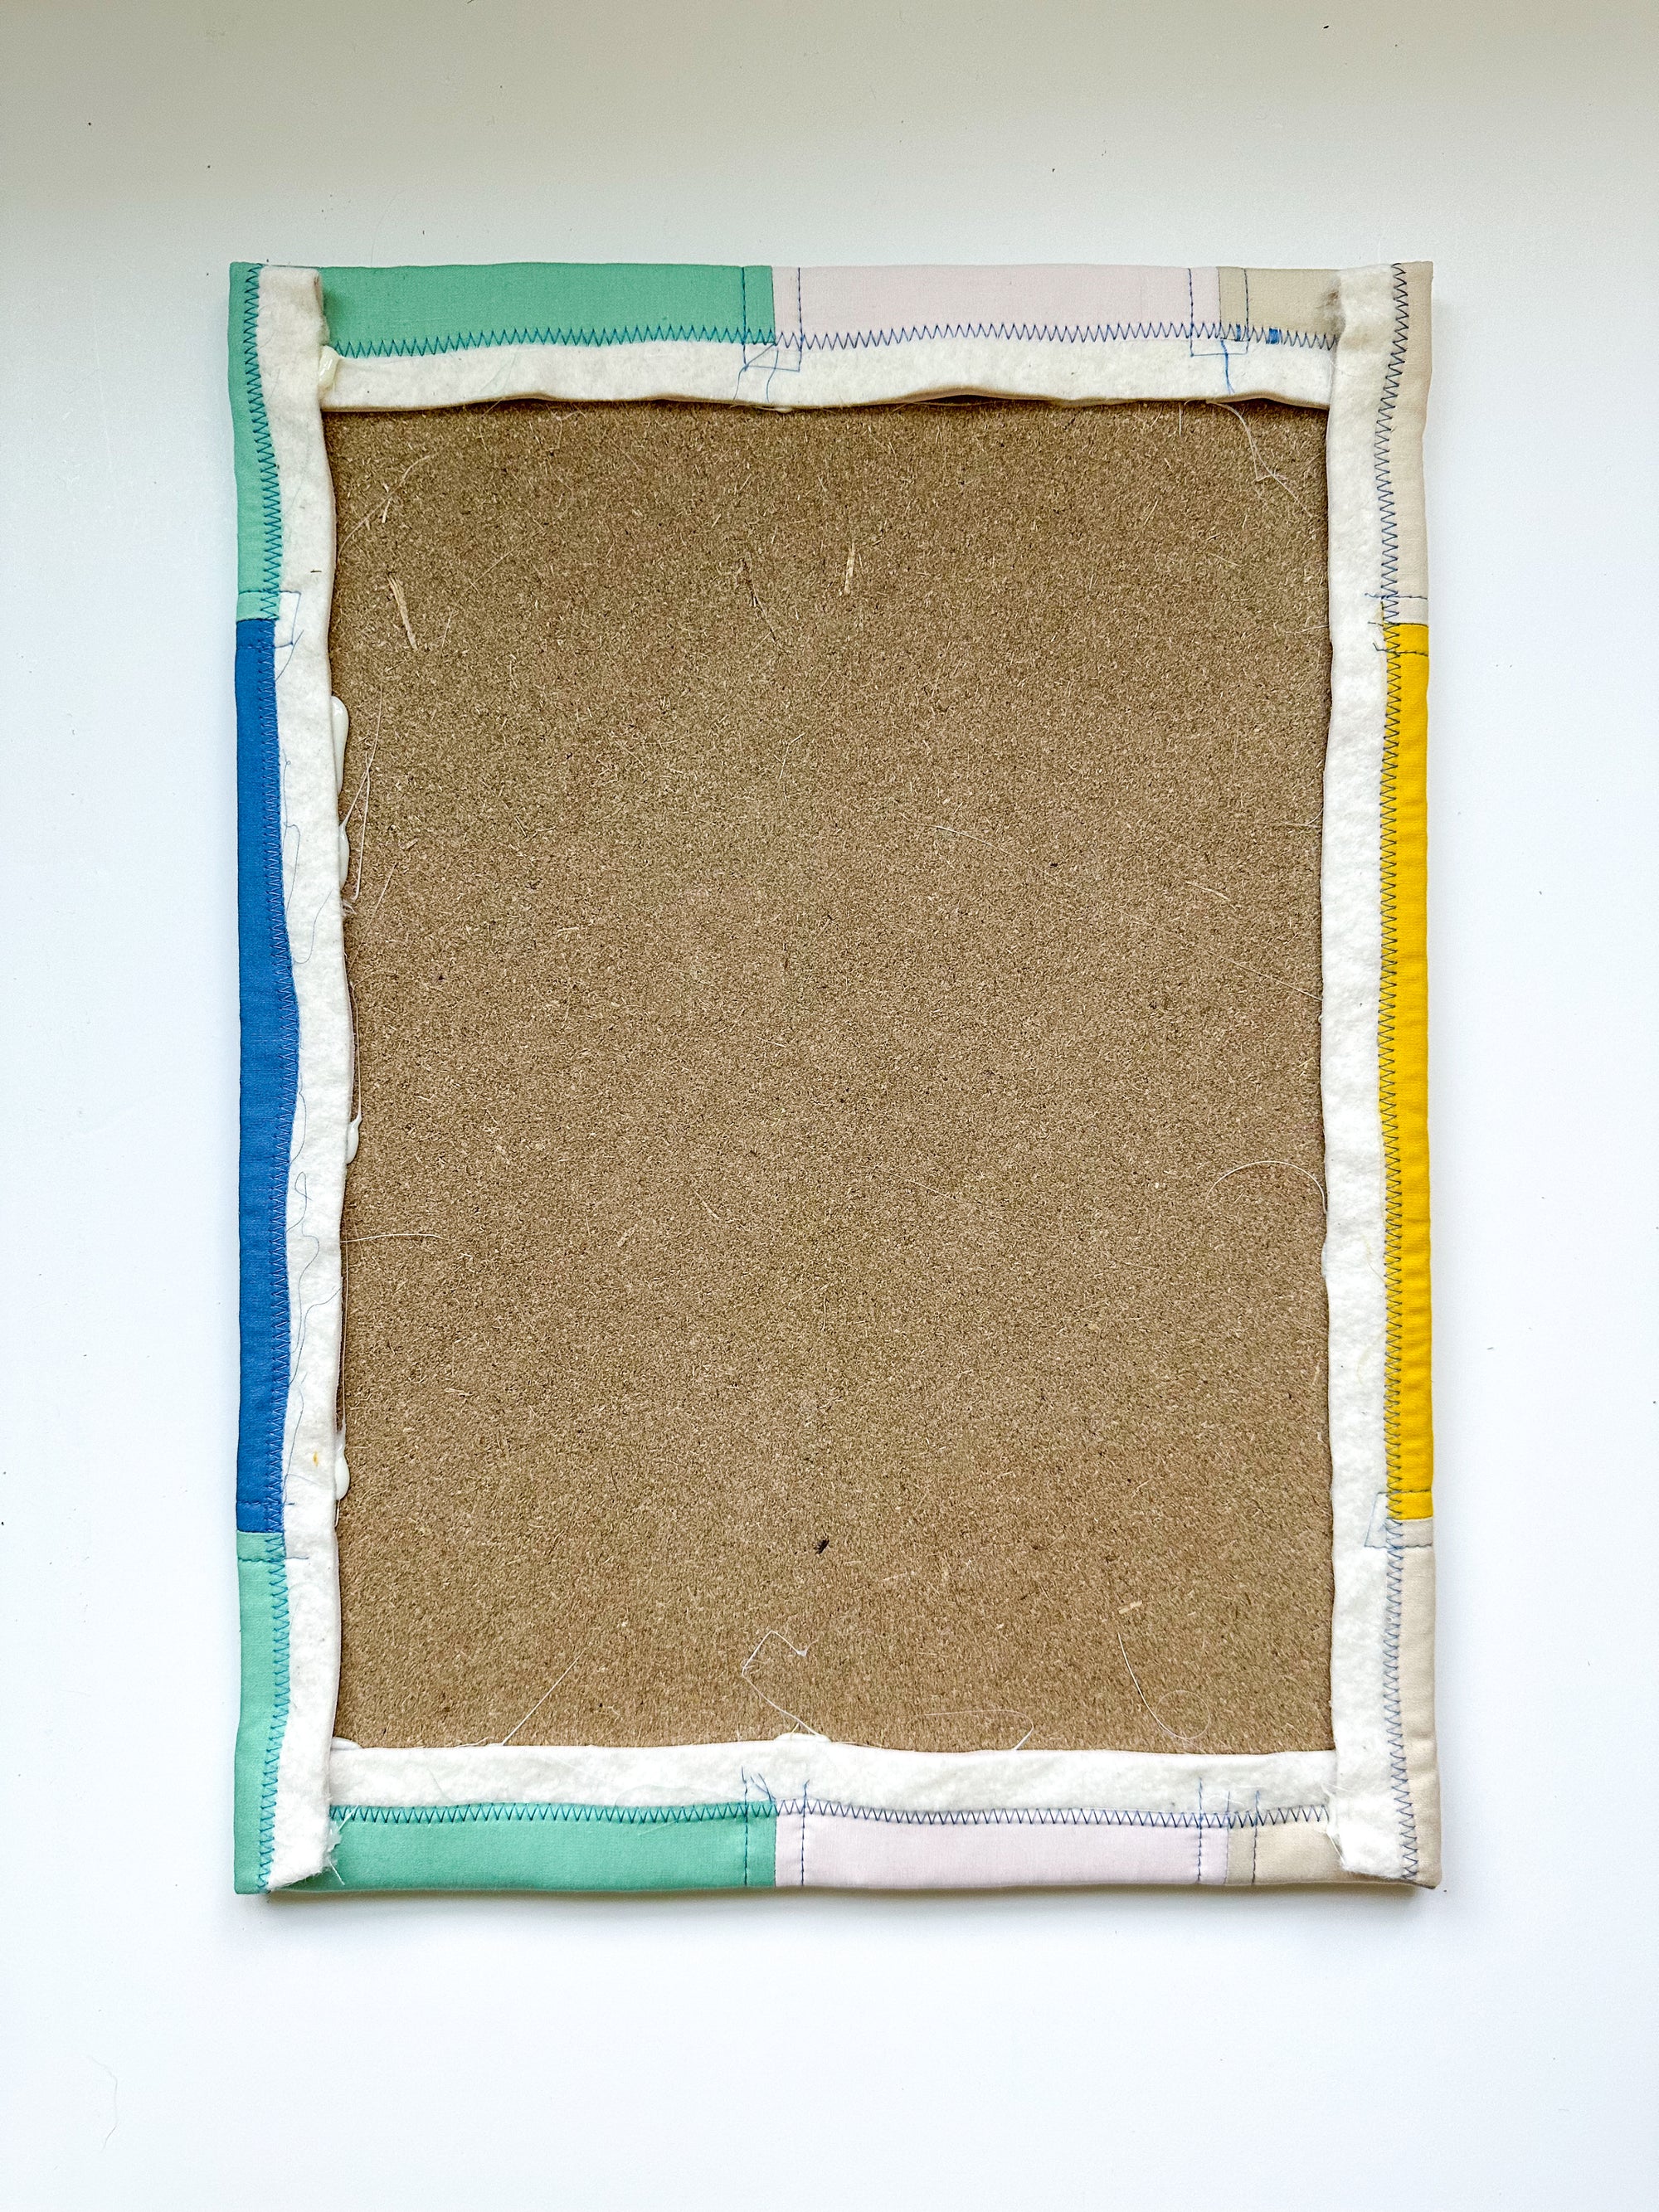
Step 5: Clean It Up (optional)
If you could care less about how the back of your bulletin board looks, then you are done! But if you’d like to put a finishing touch on your bulletin board, then we have one more step for you!
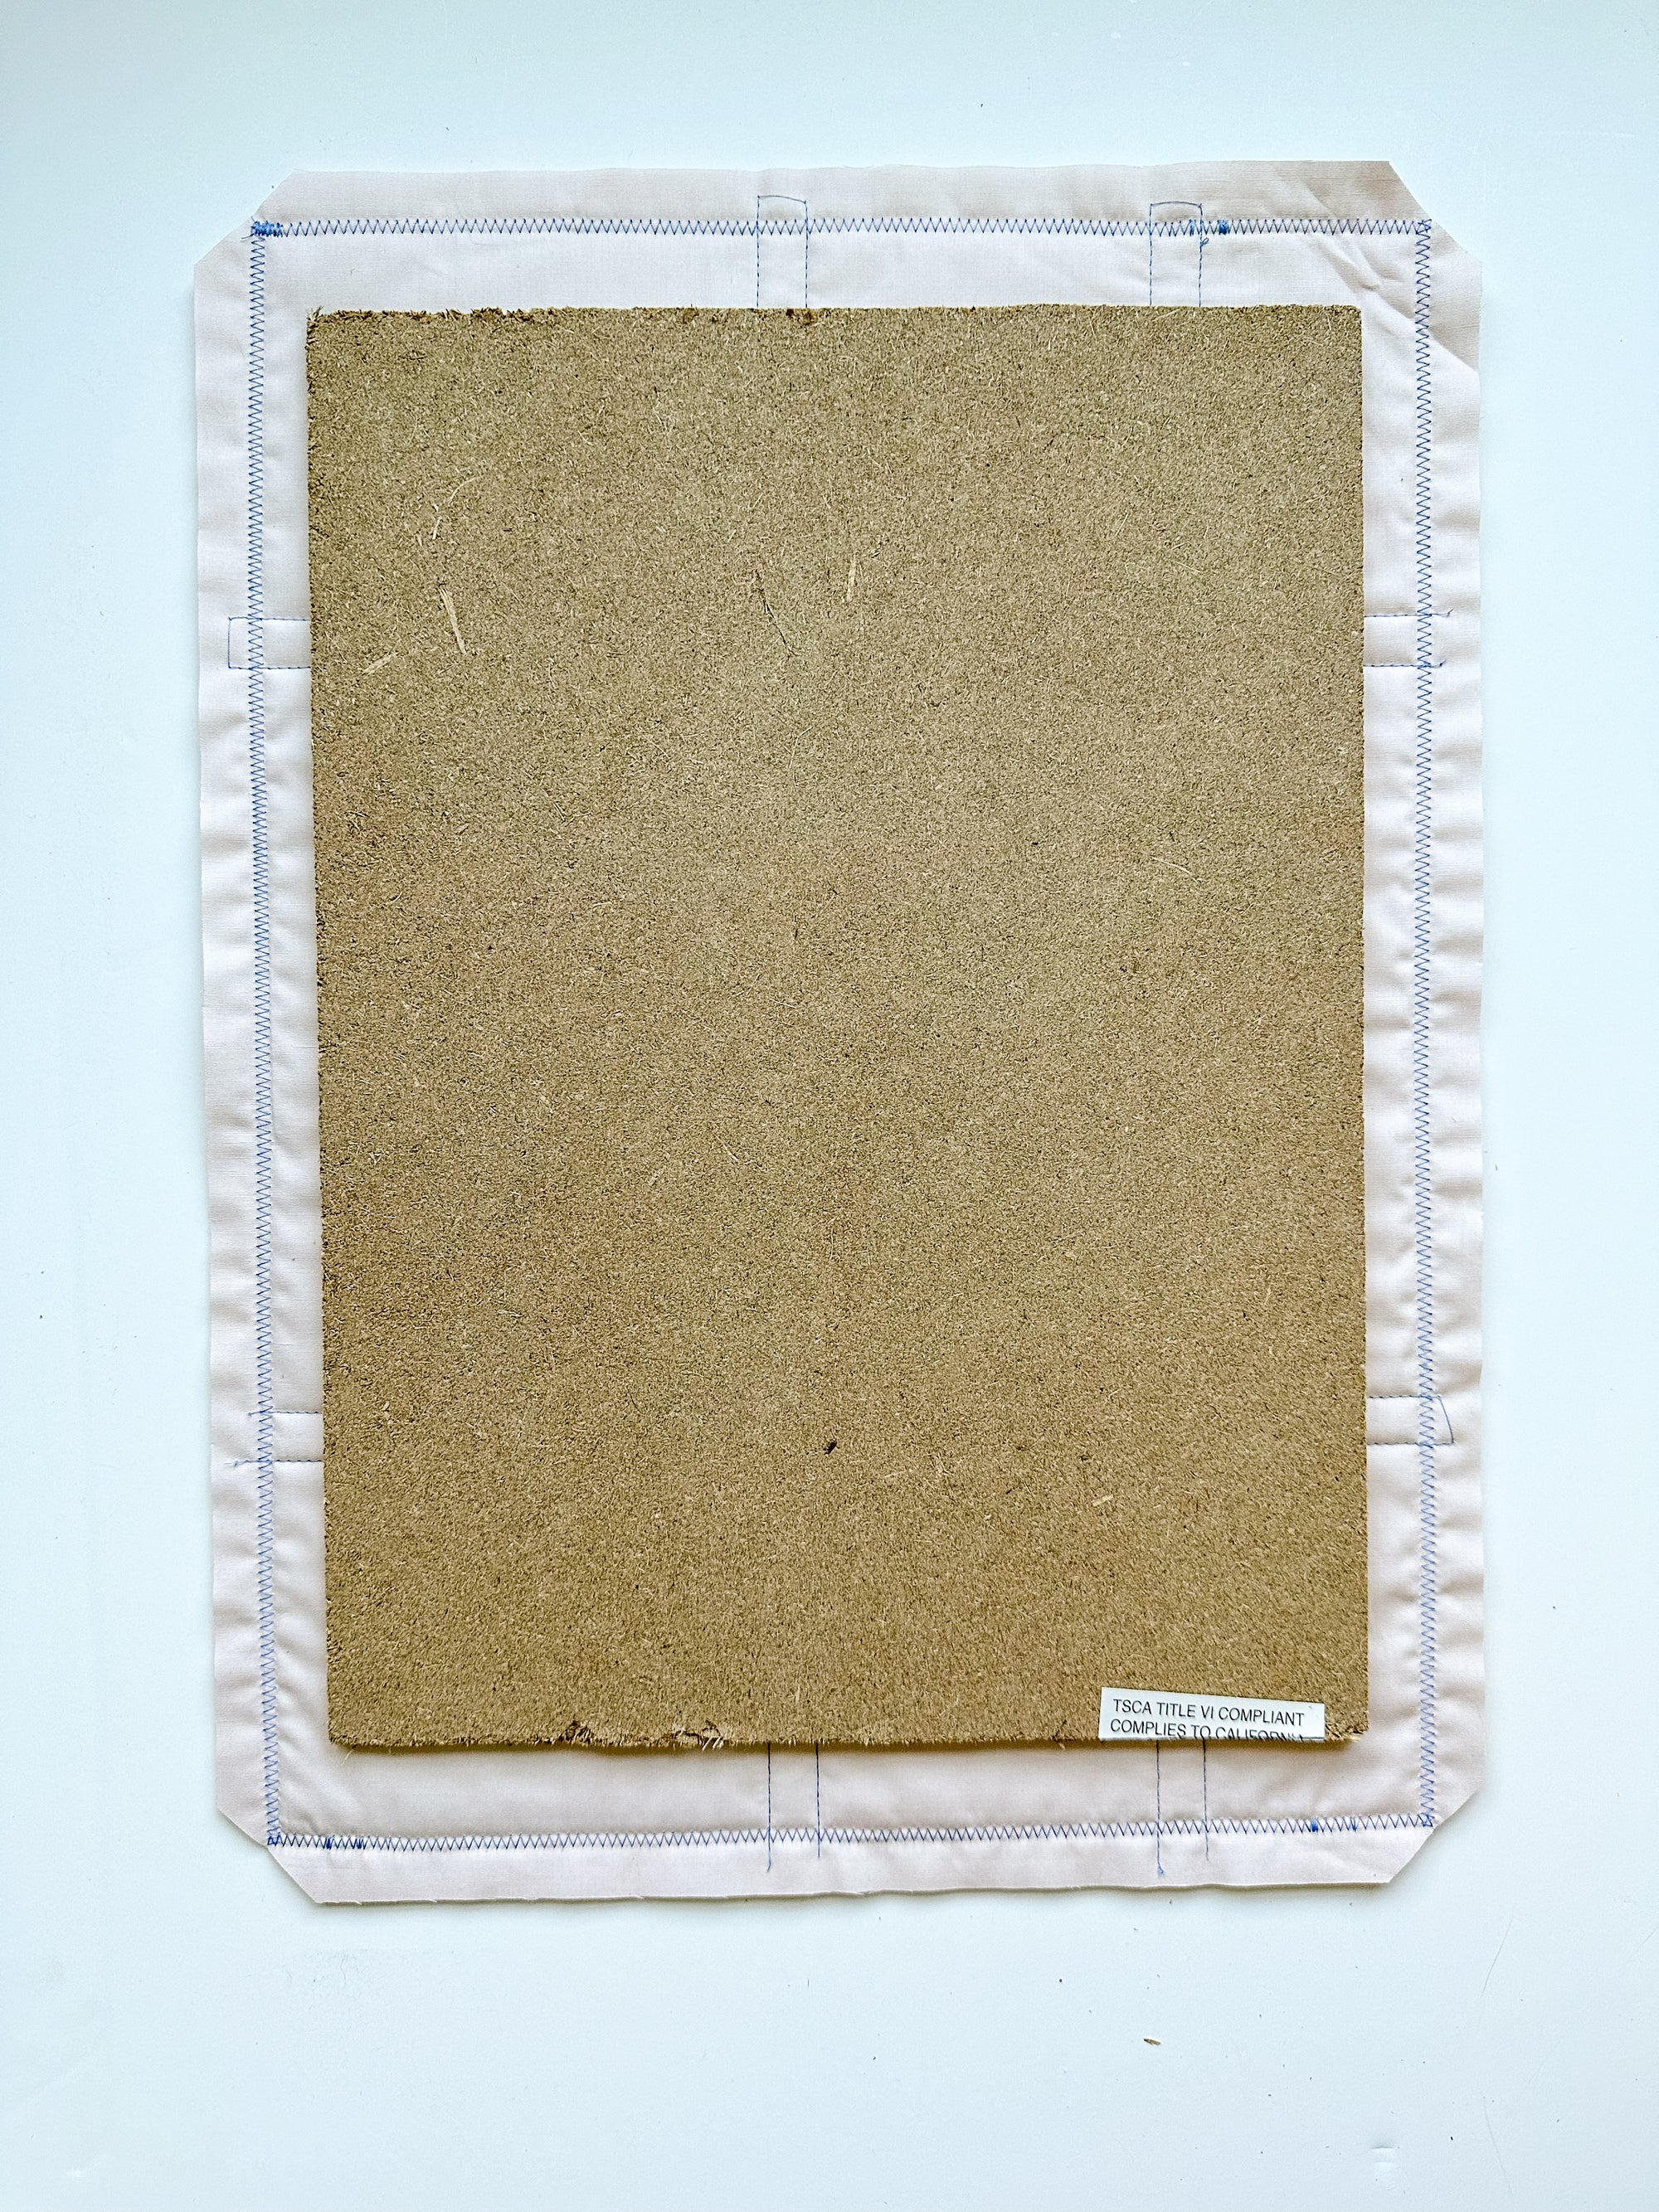
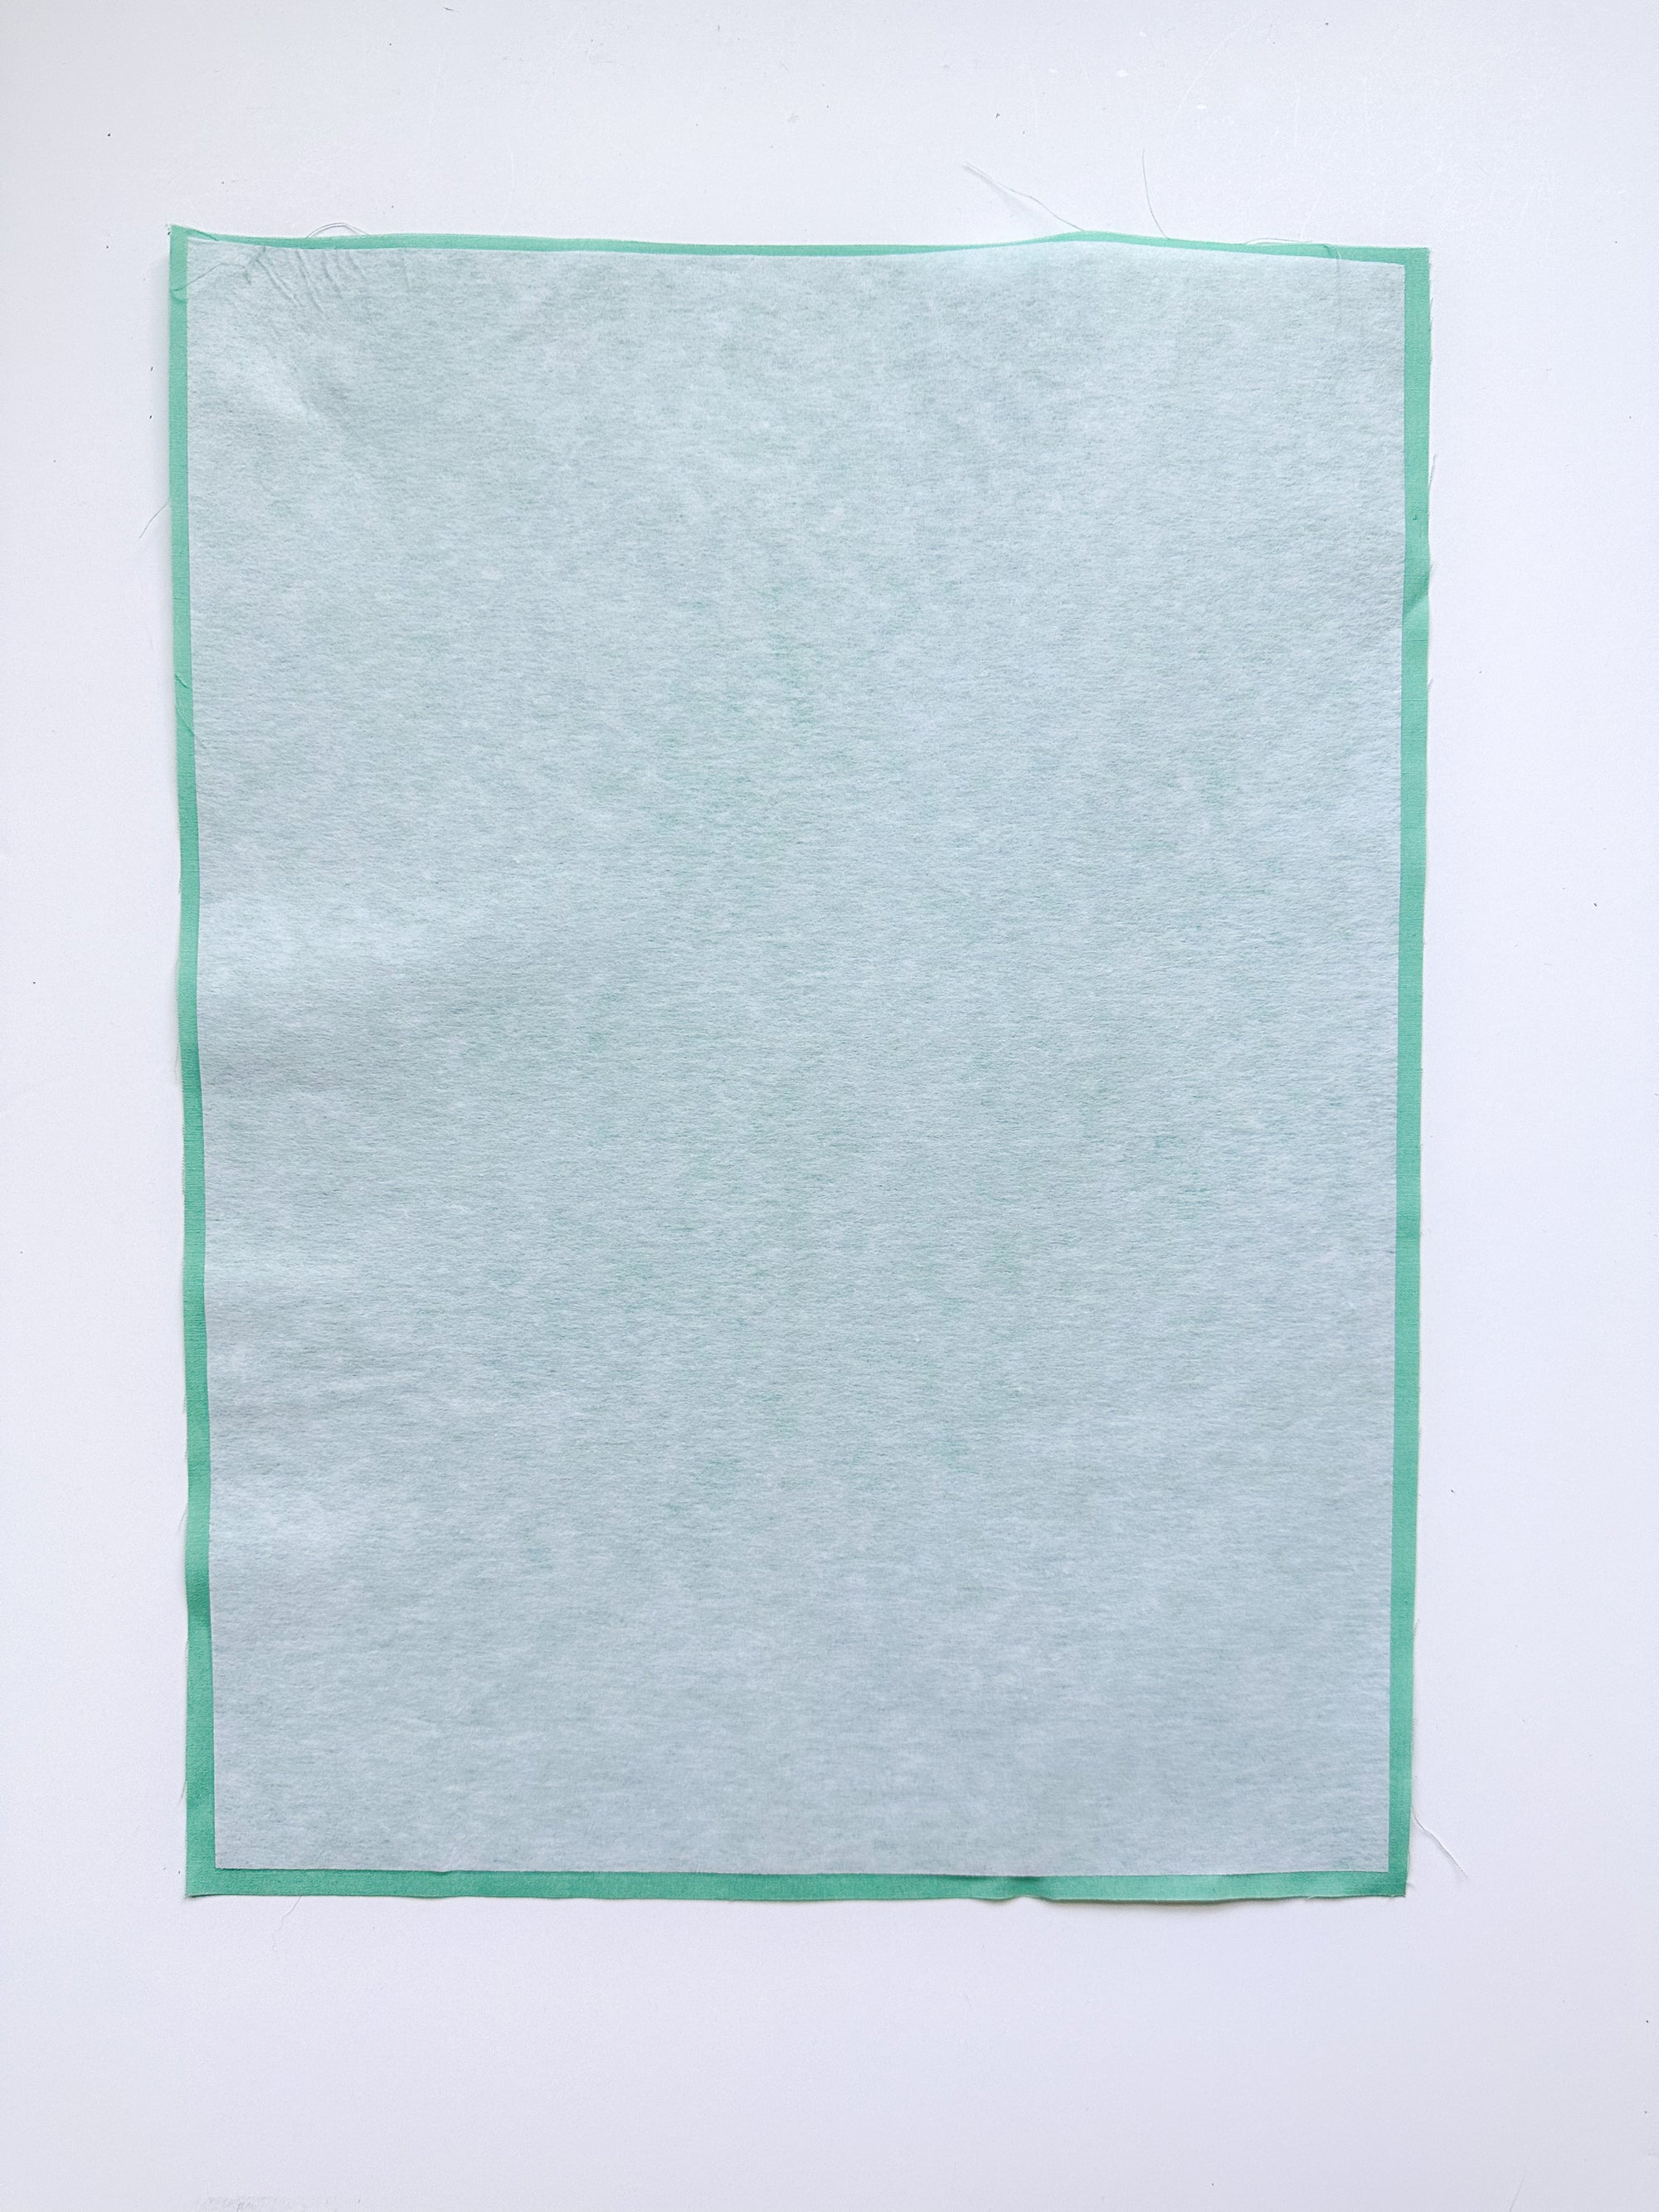
You will want to take your bulletin board measurements (example: 11” x 15”) and cut a piece of fusible interfacing at that size. Then you will want to cut a piece of fabric to be ½” bigger than your interfacing (11 ½” x 15 ½”). After following the directions of the fusible interfacing, I attached it to my fabric so the fabric would have a quarter inch on all sides, like shown in the image below. This will make it easy to fold over for a clean edge.
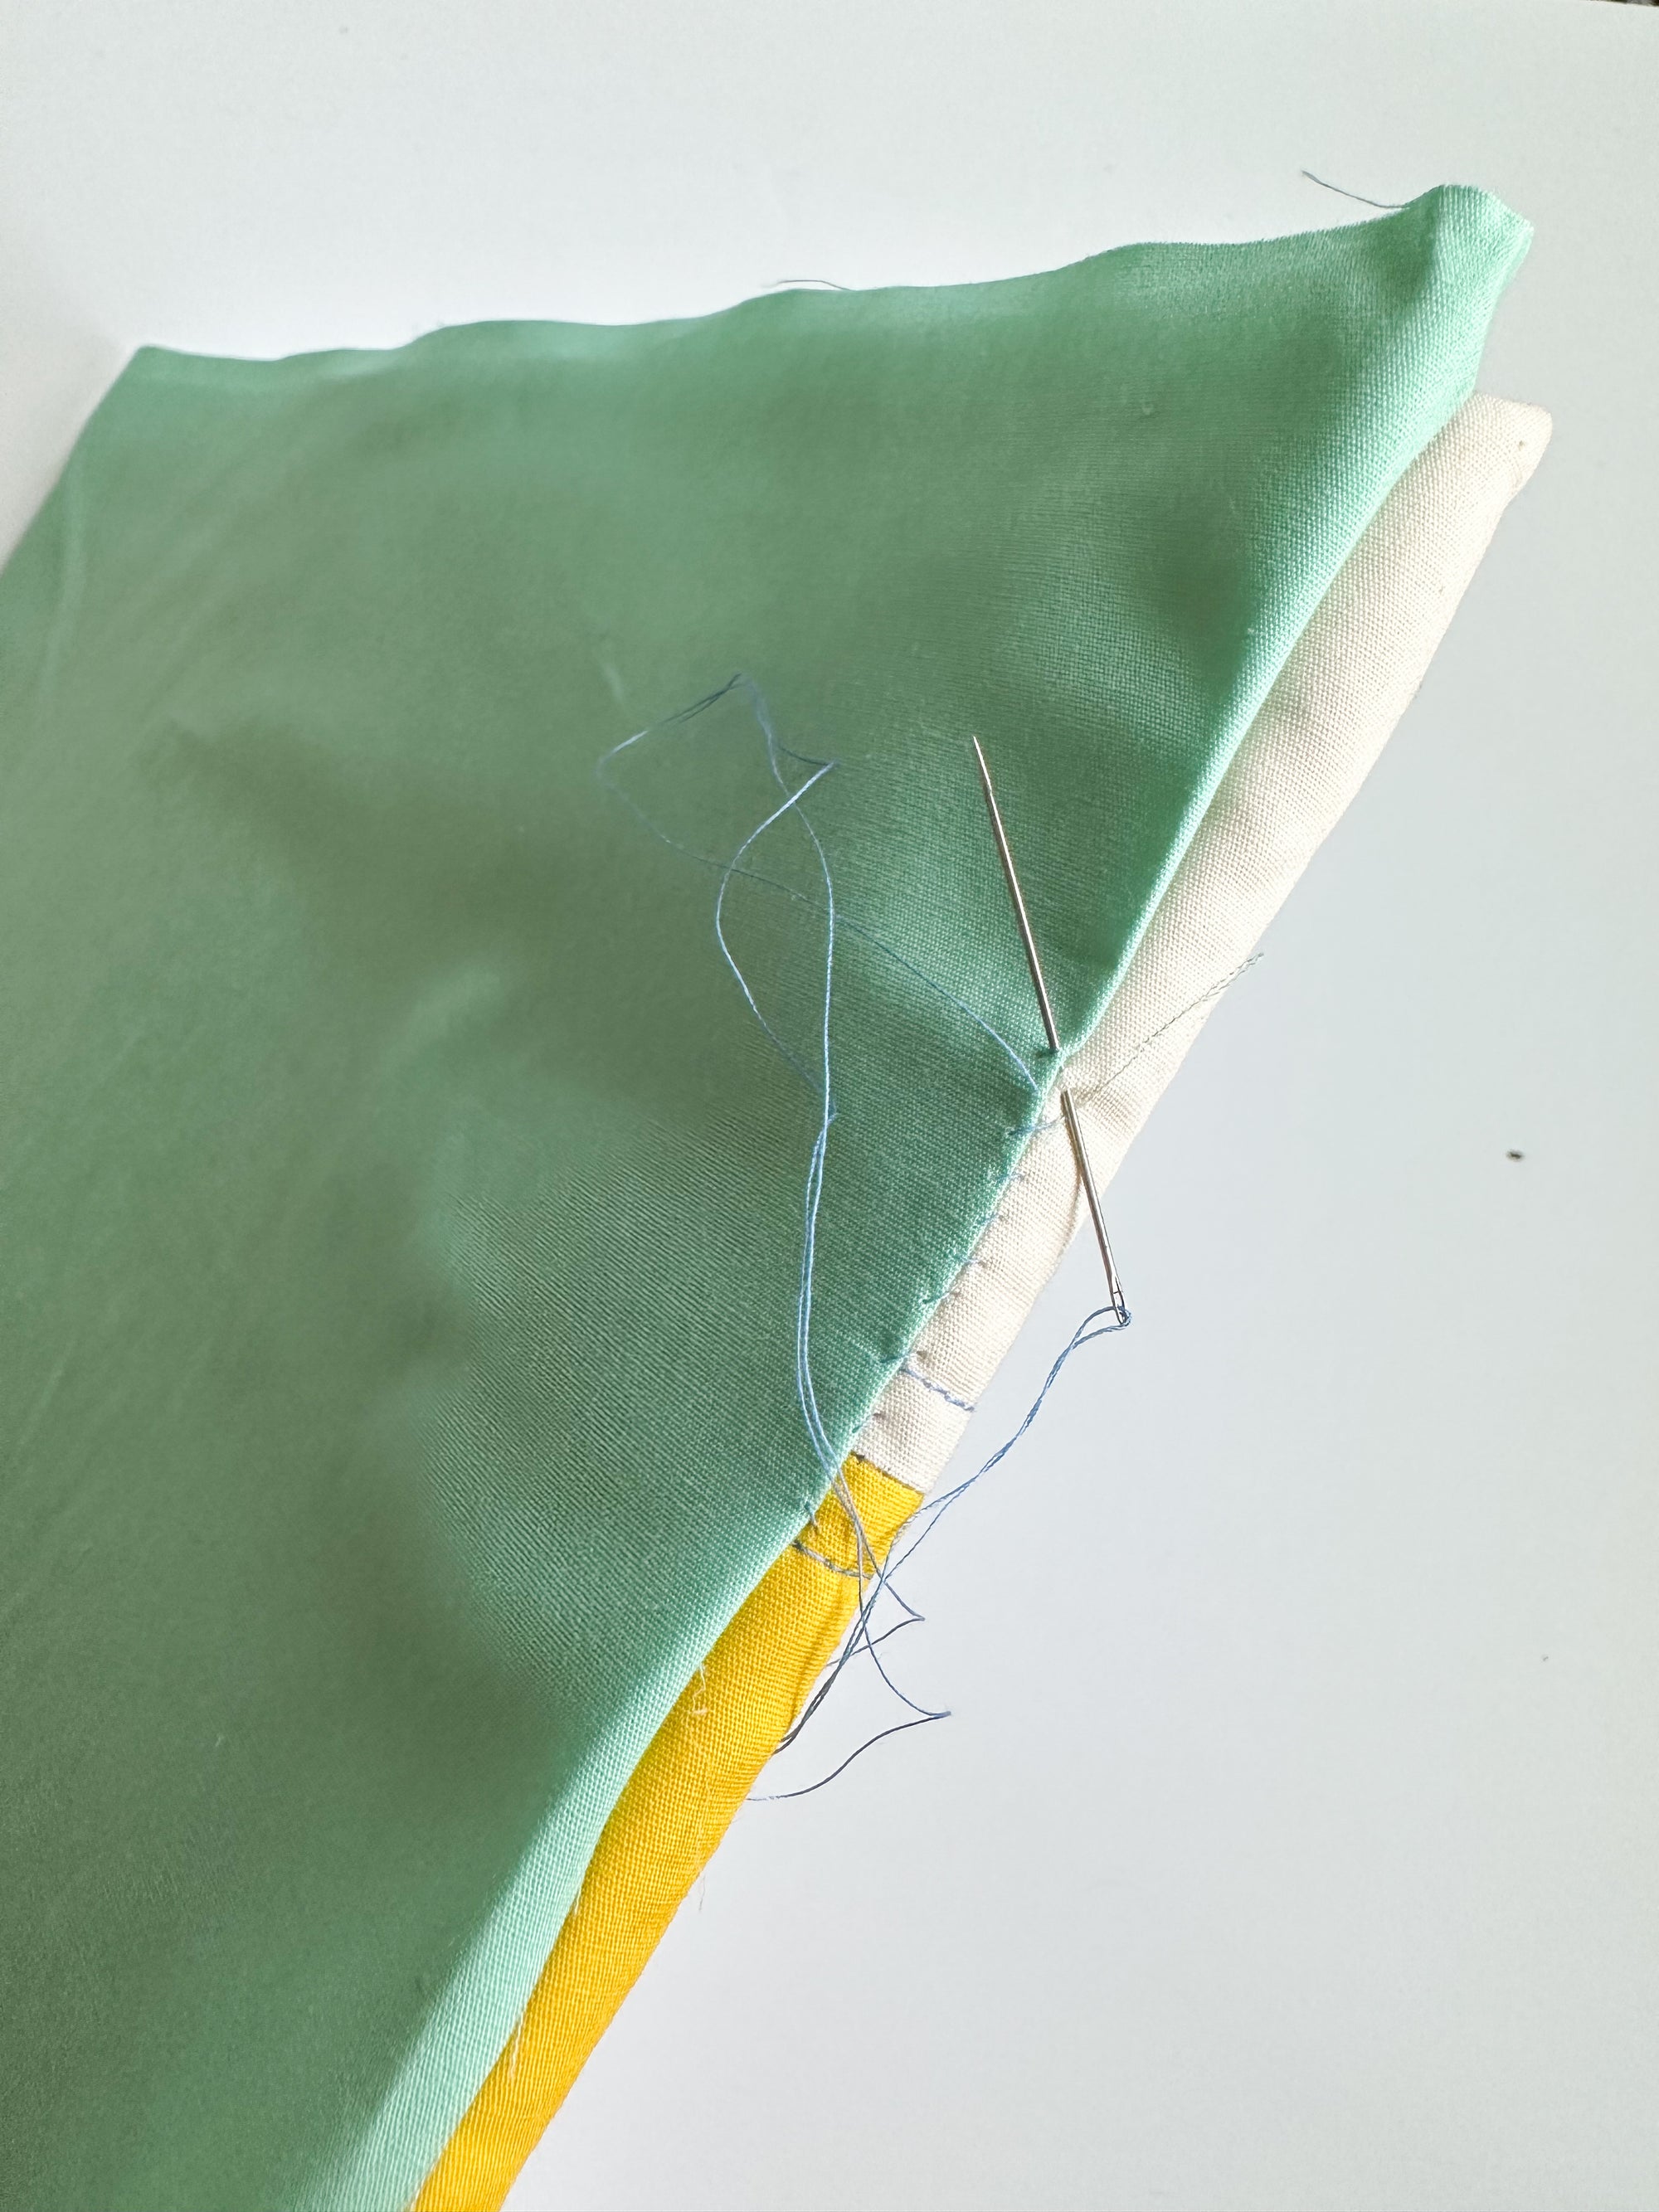
Once I folded the fabric around I then whip stitched this piece on the back so that you can’t see the batting or any unfinished edges.
Step 6: Complete
And we are done! Congrats! Now it is time to find a place to put your bulletin board and maybe hang up a cute photo, or a calendar, and your quilty or non-quilty aspirations for the year.


At the beginning of each year, I like to compile a “fun” list which includes patterns or fabric I would like to make for the year. I try not to put any pressure on myself on completing the list and if it happens great and if not, that’s okay too! Sometimes it is just a nice reminder of things that I’d love to work on.
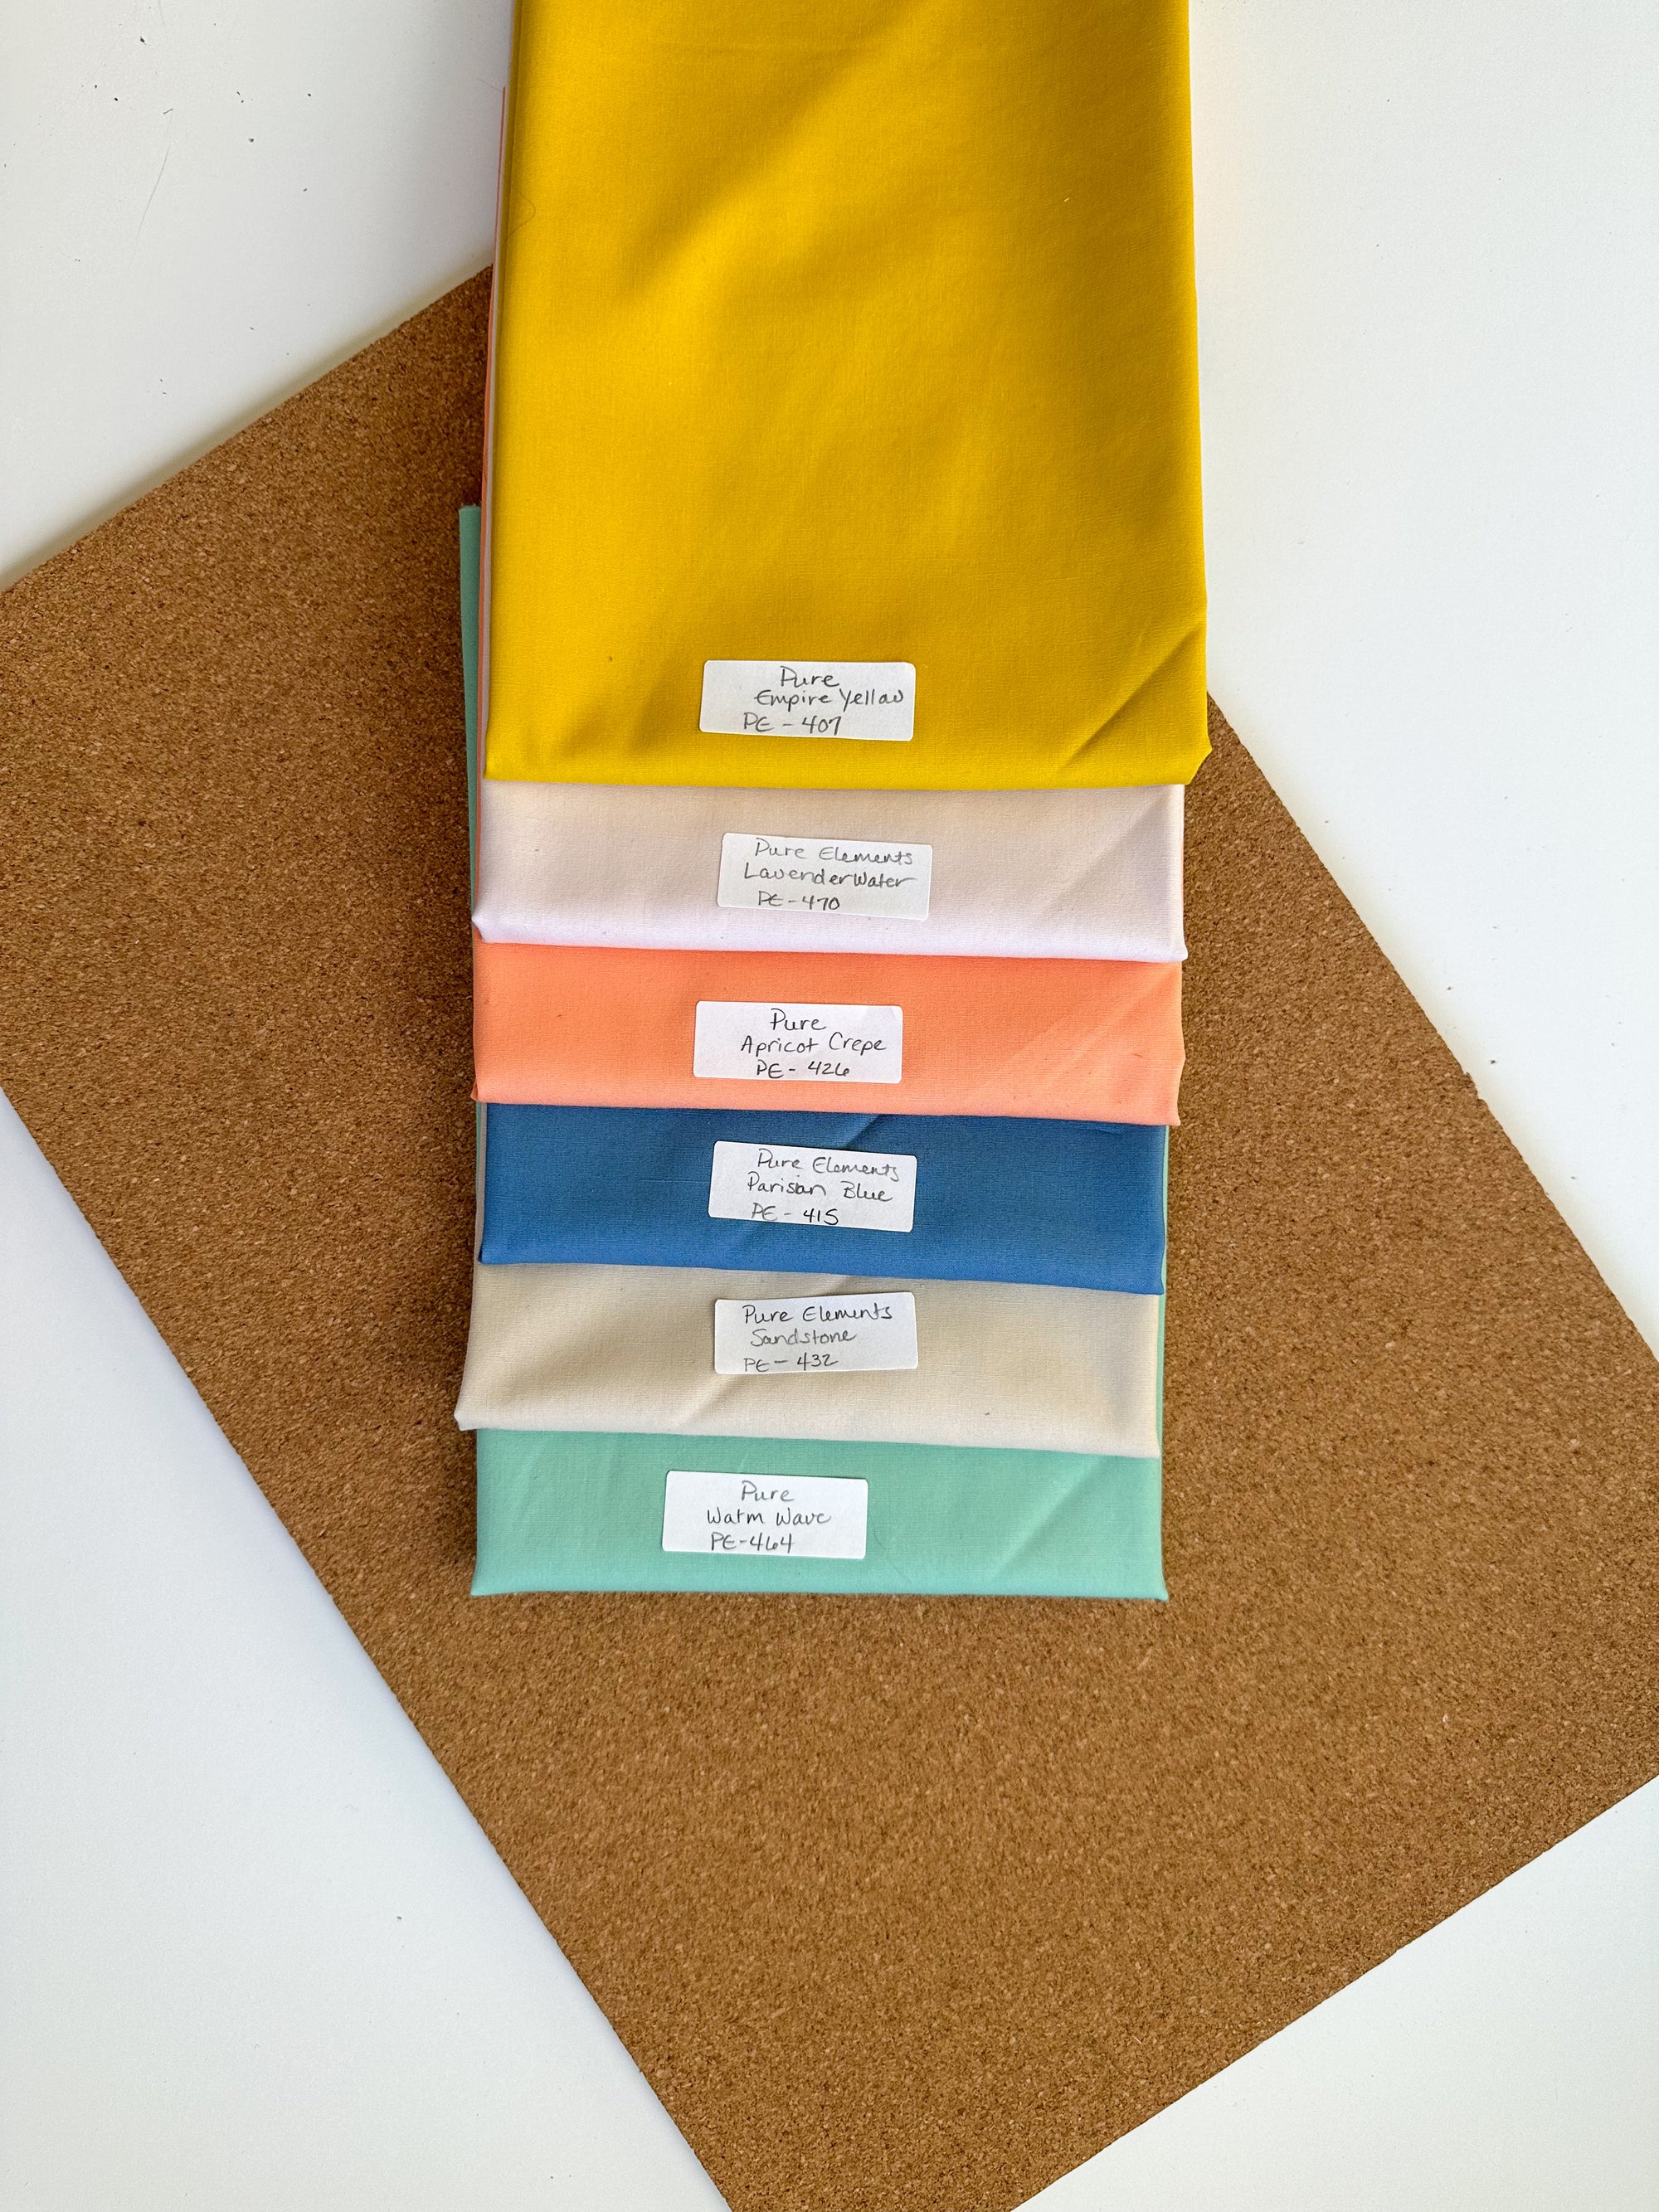
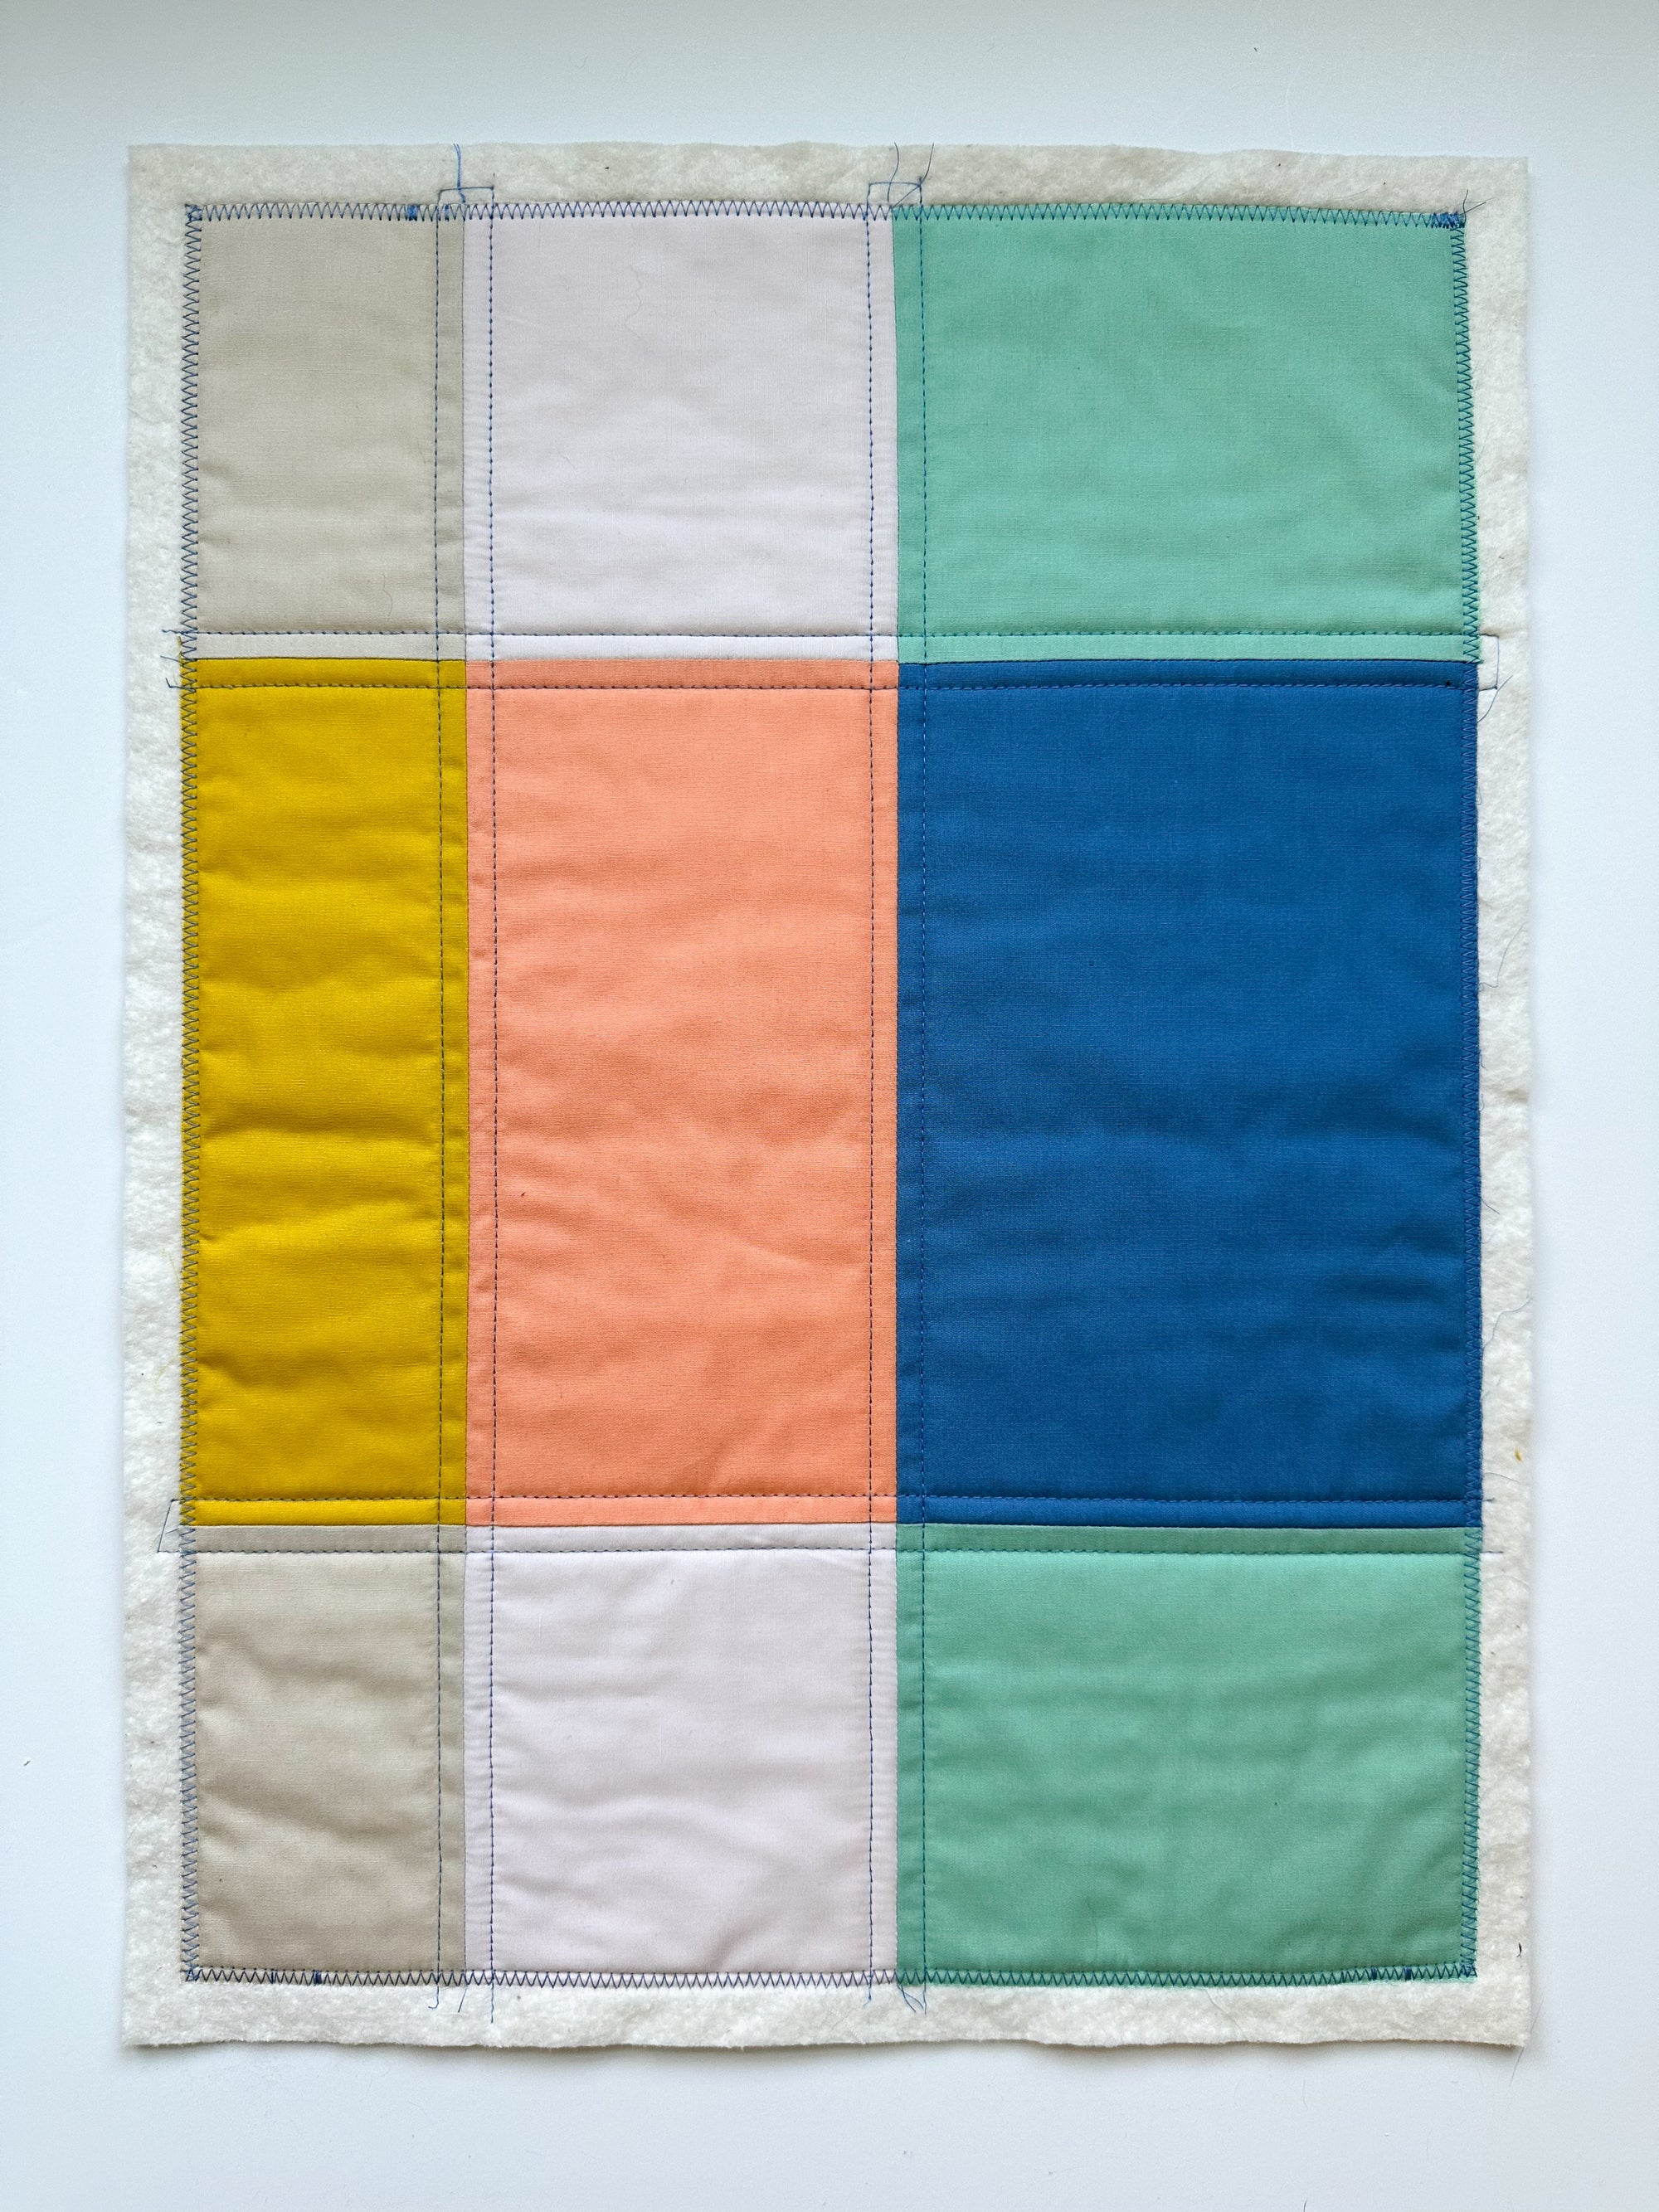
Side note: In case you were wondering what colors I’m using…these are all Art Gallery Pure Solids and the colors are labeled in the picture below!